
A Beginner’s Guide to Hiking & Backpacking presents you with everything you need to know to successfully and safely complete a basic hiking or backpacking trip, and it includes numerous tips to make your trip as pleasurable as possible.
This blog is summery and collective information's from various backpacking books, magazines I read, internet search I did and videos I watched.
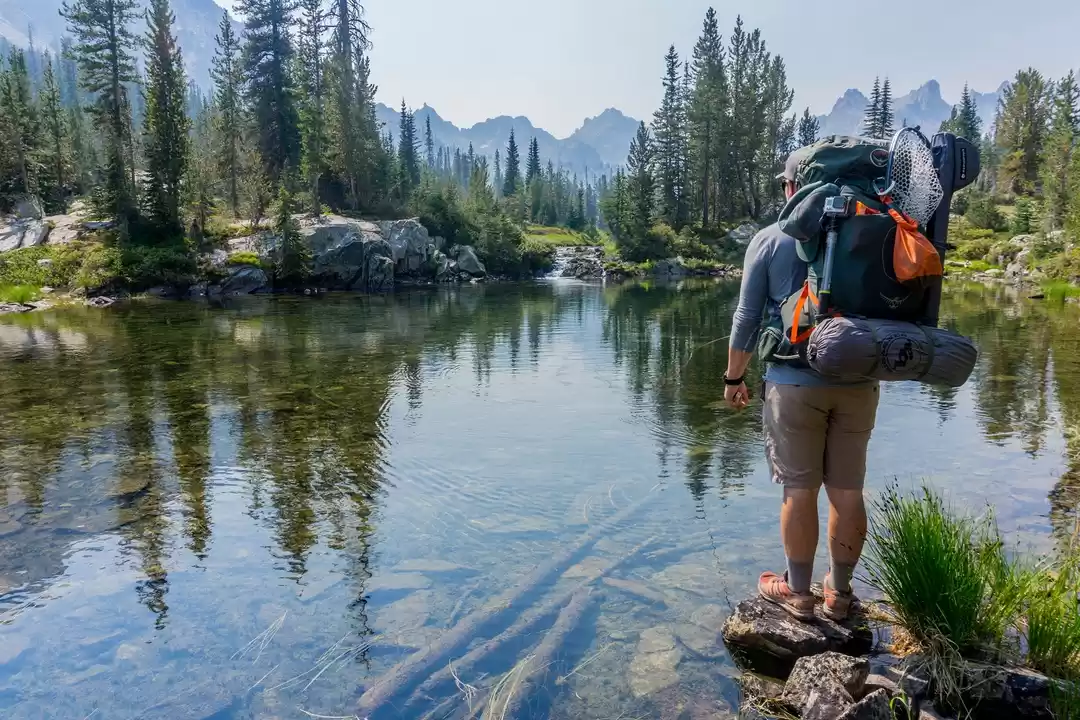
Chapter one: Introduction to Backpacking
First thing lets clear some confusion
HIKING VS TREKKING VS BACKPACKING — IS THERE ANY DIFFERENCE?
Of course, there is a difference,
Hike defines as “a long walk, especially for pleasure or exercise”.
Where as Trek defines as “a long walk over land, such as hills, mountains, or forests”.
And backpacking refers to a special class of hiking where the hiker carries all the equipment they need for survival in their backpack. This often includes shelter, sleeping systems, cooking apparatus, food, water, and more.
So I guess now we are clear about all these things but
Does This Even Matter?
Well, for the most part… No, it doesn’t.
The main goal of all these activities — hiking, trekking, and backpacking is to get you out walking amongst nature.
Chapter Two: Trail planning

If you haven't decided yet where to go then First, you should find the answer of these questions
Where do you want to hike?
Do you prefer to stick close to home or would you rather try something farther abroad?
When do you want to hike—which season?
And, finally, do you want a wilderness experience or would you prefer a more established trail?
Trails are nothing but the paths used for walking, cycling, horse riding, or other forms of transportation.
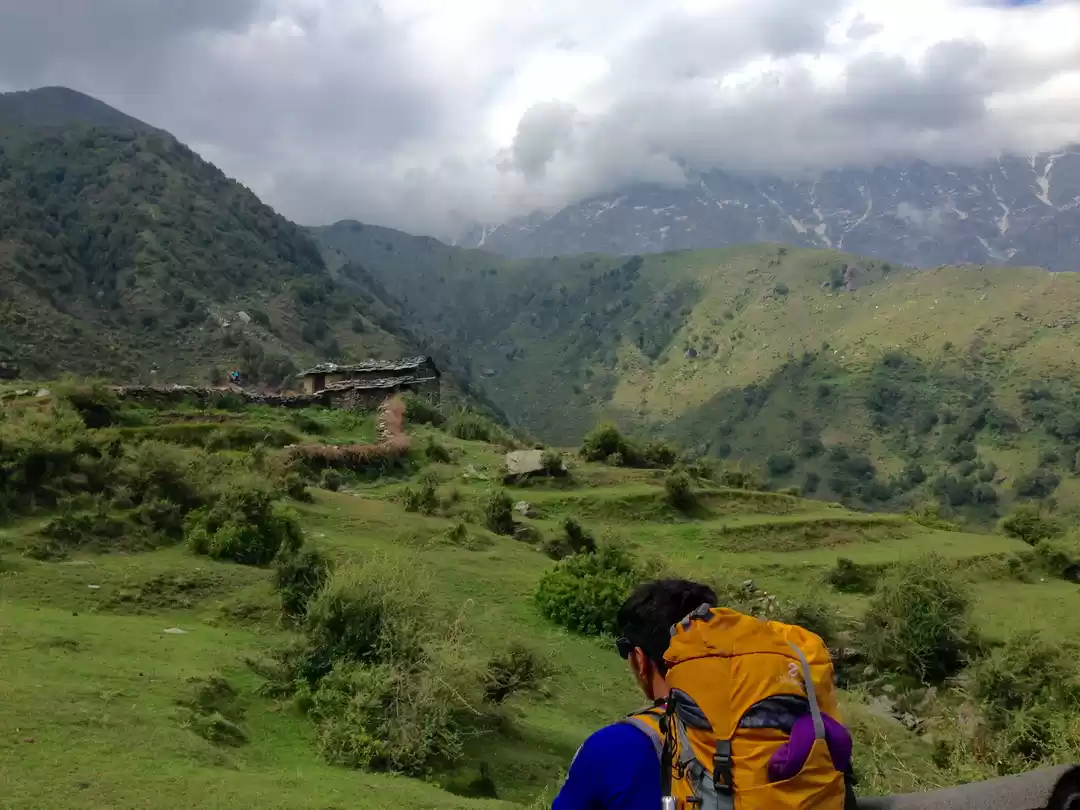
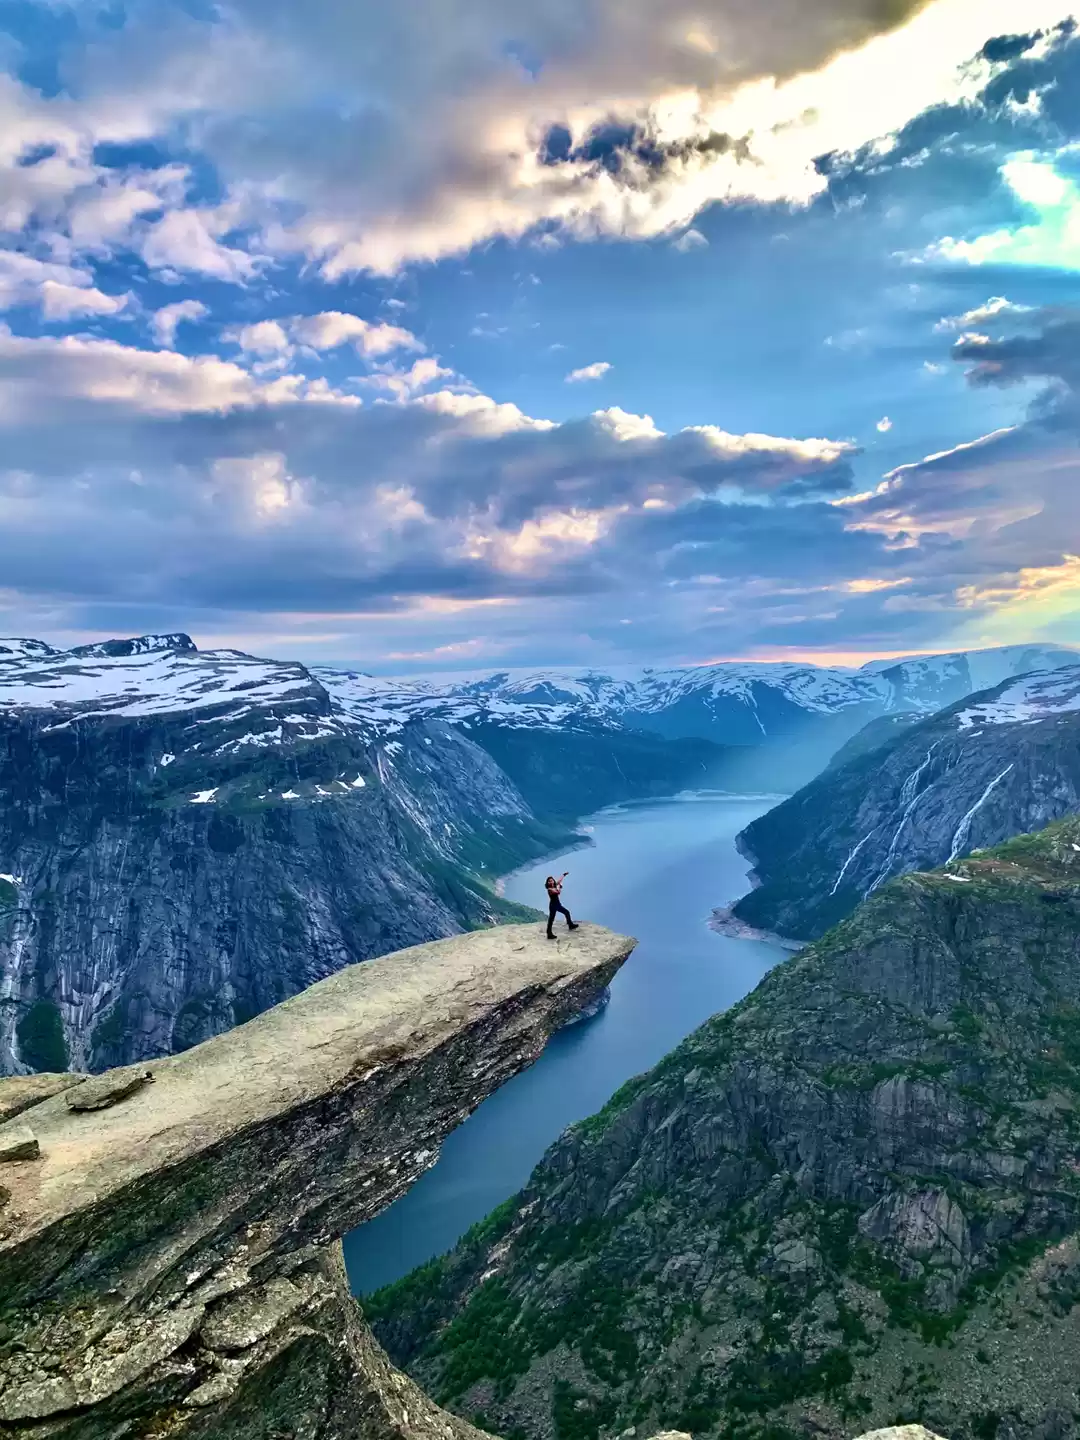
The heart of backpacking lies in the concept of the journey itself, a desire to explore a world beyond our everyday lives, and in doing so to explore ourselves.
Once you decide on (or even simply dream of) the place where you want to hike, you will want to get all information about it.
Information can be as simple as a brief description of a trail’s location and length, or it can be a more complex description of nearly every inch of the trail and it can include detailed maps and elevation profiles and internet is the best place to collect all this information.
The information you will need before choosing any trail is
1. Clear instructions on how to get to the place, including road conditions if you're choosing to travel by your own.
2. Download map for the offline use cause first there may not be network coverage at all places and second you will not want to drain your mobile battery before reaching at your trail.
3. Information on special regulations or permits required for the area, especially if you are planning in forest or some Archaeological or world heritage sites.
4. A rating system for the diffi- culty of a trail, including information or charts on large elevation changes or potential hazards such as river fords.
5. The location, reliability, and availability of water sources.
6. Services available in the area such as fuel, food, and lodging.
Chapter Three: Preparing for trails
Once you have decided where, when, and how long you are going to hike, you need to prepare for it. Here are some suggestions regardless of how long you are planning to hike,
The Physical fitness
Backpacking isn’t difficult, but it does require both physical and mental preparation.
Many times first time hikers go for the trail unprepared and unplanned and will feel the pounding in hips, knees, ankles and feet. Which causes them to feel tired, painful muscles and many of them never plan to trail wilderness again.
The better your planning, the more enjoyable your trip will be. You need not know exactly how far you’ll walk each day, or precisely where you’ll camp each night if you are planning for the multi day trail.
Backpacking requires fitness. You need aerobic, or cardiovascular, fitness to walk and climb all day. The best exercise for backpacking is walking. Walking exercises the muscles of the legs and lower back, muscles you will use constantly when hiking or backpacking. Without muscular fitness, you’ll be stiff and aching all over on the second day out.
It's very important to train your lateral muscle and ligaments of the ankles and feet which will not get trained by just regular walking the best way to train them is an elliptical machine if you're gym person or simple stairs climbing. Most important don't forget to stretch your muscles before starting your trails
Packing for a trip:

What to Carry in Your Pack?
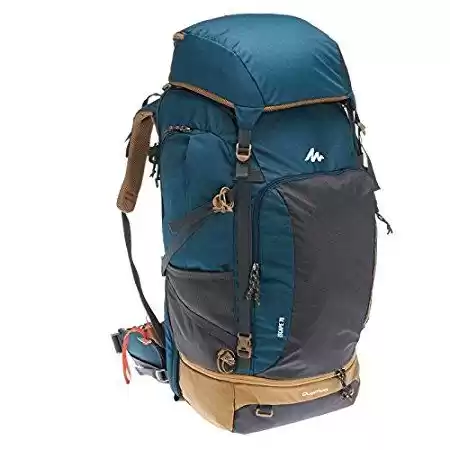
Just keep one rule in mind never carry more than one-third of your body weight. Though choosing the size of a pack seems to be one of the most personal issues in pack selection.
There are lots of options for backpacks you can choose according to your trail type, duration, sessions of trail, the basic thing you must know,
If its length is adjustable
If it has an attached rain cover
The waist pockets are big enough to fit a phone
If it has the water system, then that's great
And does it allows air to flow to your back,
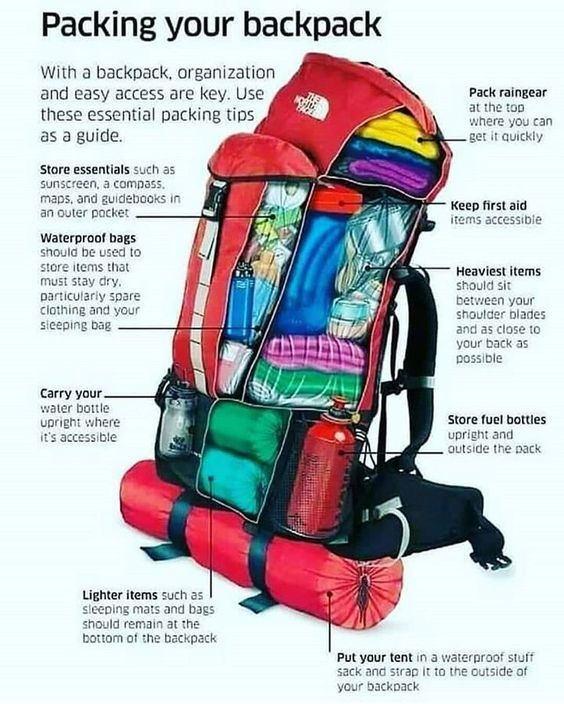
Also, the most important thing while selecting and packing your backpack location of the center of gravity, The ideal location for the center of gravity for a pack is a little higher than that of the body’s but as close to the back as possible.
Loading Tips
➤ On gentle terrain, pack the heaviest items high and close to the back. Because the pack’s center of gravity is about at shoulder level, it will take only a bend at the waist while hiking to align the weight over your hips.
➤ In climbing, hiking off-trail or over rough terrain, pack heavy items in the center, close to your back. You may have to lean over more to offset the pack’s weight, but balance is better because the pack’s top-heaviness is reduced. Which I prefer most of the time.
➤ Women have a lower center of gravity and do well to pack dense items lower and closer to the back.
Hiking Boots & Shoes

Nothing is more important than your feet on a hike. Hiking shoes differ from trail runners in the stiffness of the Although a bit heavier, the stiffer flex provides a more solid platform when walking on rough trails, and it helps prevent bruising the bottom of the feet from stepping on sharp rocks.
A good rule of thumb when getting new hiking boots is to make sure they’re waterproof, you can find many options online nowadays. Just look for, Stability, Durability, Foot and ankle protection, Slough mud, snow and water and Good all-around traction.
Shoes weigh from 500 to 800 grams a pair for the lightest running shoes to 1kg or so for the heaviest trail shoes.
But if you go to a store that has a good selection and a knowledgeable, helpful staff trained to fit boots, you can’t go far wrong.
Do not wear cotton socks. They’ll get wet with perspiration causing friction and blisters. Wear synthetic liners made for hiking underneath wool or synthetic wool socks.
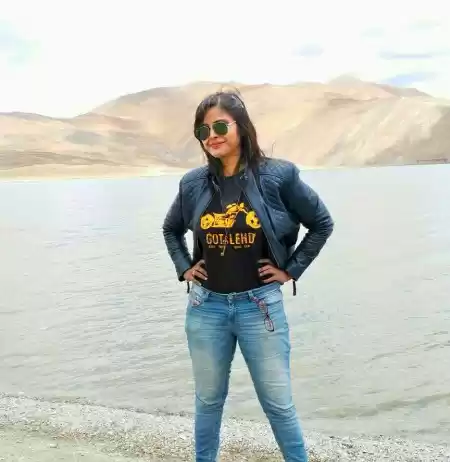
Dressing for the wilderness

As in this blog we are talking about the beginners and backpacking for one day or multi day basic trek, I will not go details into textile constructions, fabrics, hidden weight of clothing system, different layers and all.
Your selection of hiking clothing will be depends primarily on personal preference and style, and secondarily on the climate the geographical location where you are hiking.
For Hot weather your first choice may be to wear short and a short sleeved shirt which is most of the time is an excellent choice. However, in the areas where ticks, mosquitoes and stinging insects can ruin your long pants and a long-sleeved shirt. Wear pants and tuck your legs your socks, Wear a hat and a bandanna around your neck to cover up even more skin; if you have long hair, pull it back into a ponytail or braids.
When selecting shorts for backpacking, examine the waist region for seams and rivets that create pressure points underneath a hip belt. Also, be sure there are no rough seams around the inner thigh that will chafe. Somewhat baggy shorts offer good airflow without snagging on brush. Nylon fabric, is faster drying and more durable than cotton. Many hikers opt for convertible pants with legs that zip off to become shorts, cotton T-shirts are lousy for backpacking because they get soaked with sweat and chafe your skin. For greater comfort, select a loose-fitting T-shirt made from polyester knit since it offers good airflow and fast drying while protecting your shoulders from the sun. Women may also wear a sports bra with mesh ventilation, but check for seams that will chafe or create pressure points under the shoulder straps.
For Cold weather or when hiking in the spring, fall, or at high altitudes, you will need a versatile layering system that can quickly adjust to the conditions A basic Windshirt made from ultralight nylon (front) can be a great complement to a
1st layer: Next to the skin one of the high- polyester materials. They wick (draw) sweat from to the outer layers of clothing where it can wear cotton T-shirts! Cotton gets wet and robs the body of body heat.
Middle layers: Wear layers of pile or fleece (more high-tech, polyester material). These fabrics are warm, nonabsorbent and breathe.
Third layer: The ideal is a breathable wind- and water- proof shell or jacket. Such garments are made of fabric with pores smaller than water molecules (rain) but larger than water vapor molecules (bodyvapors).Thus, rain is repelled but vapors from the body pass through. Gore-Tex is the major brand. The non-breathable waterproof shells are less expensive. Look for vents.
The basics include,
One pair of pants
One pair of shorts
Sports bra for women
One long-sleeved shirt
One short-sleeved shirt
Thermal pants and shirt
Insulated jacket
Rain gear
Gloves
Waterproof and breathable gloves are best.
Sunglasses
Your eyes need protection from harmful ultraviolet rays which are intensified by higher altitudes
Backpacking food:

Food plays a large part in how much you enjoy the outdoors, Hiking requires a significant amount of exertion. Maintaining frequent and adequate fuel intake throughout the day is vital, you can eat small intervals throughout the day like fruits, nuts or energy drinks can be the best In fact, you can survive without food for at least a week (not that I’m suggesting you try that), but you must have on a regular basis or the body breaks down.
First Aid
Whenever you head out into the wilderness, it is essential that you be prepared. First aid means the first, basic care given to a victim of an accident or sickness.
If you don’t have a first-aid kit, prepare one or you can easily get it medical and you should know basic medical emergency procedures you can find this info in first-aid instruction manual. So be safe.
Chapter Four: Art of packing
It’s important to be well organized. Know where everything is. Use stuff label them. Pack items that go together in the same sack or pocket. Be consistent as you pack and unpack, It is written that an average man can carry 1/3 of his weight, a women 1/4. However, the ideal for backpacking is more like 1/5 of body weight.
If you’re careful about packing and repacking, preparing for trips gets progressively easier.
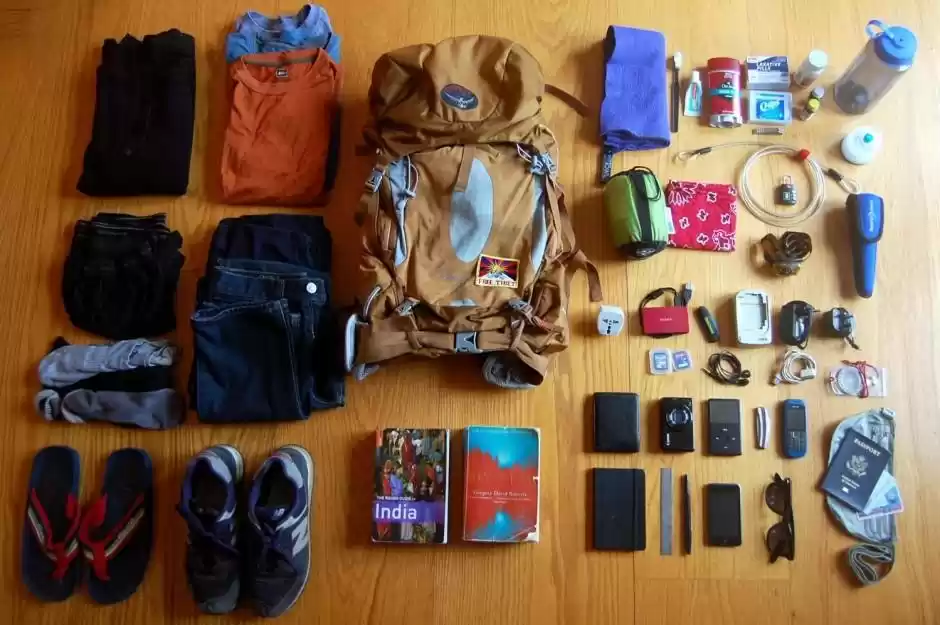
Step One: Get all your stuff together
Lay all your stuff out, Repackage food items originally purchased in heavy, glass or containers. Use Ziplock bags which are easily available in any store,
Step Two: Categorize and organize into piles
Put clothing in a durable plastic bag or stuff sack to keep it.Keep items you need during the day Map! Water! Also snacks poncho, first-aid kit
Step Three: Sack each organized pile
Load heavier gear on top, close to the back. This places weight up and over hips and feet. Example: Pack clothing at the bottom and food on top. Upper pockets hold water, fuel and snacks.
Store the smaller bag with a daily supply of snacks that goes into one of the side pouches of the pack.
You need to decide how to, what to, and where to organize your gear, but organize in such a way so you know where your gear is located so you can grab each item quickly on your trip.
Step Four: Label each sack
Pack like items together ind label contents. Always pack and repack everything in the same sack in the same spot in your pack.
Step Five: Pack your sacks.
Create a symmetrical and balanced load.
Chapter Five On the Trail

You’ve planned, you’ve packed, and you’ve arrived at the now it’s time to start the trail, Before you head out, tell someone where you are going, what trails you are taking, and when you expect to return.
First thing first, Putting on our backpack, have found is, Settle your pack on your right knee if you’re right-handed, or on the left one if you’re left-handed. Insert your arm through the pack strap and swing the pack around your back. Finally, insert the other arm in the arm strap, tighten your hip belt and sternum strap, and you’re on your way.
Once you begin hiking, maintain a strong, steady pace. It is generally better to take frequent short breaks instead of occasional long stops. Use those short breaks to look around, eat some snacks, sip some water, and take some photos. As soon as you feel a chill, get going again. Always remember taking breaks does slow down your overall pace.
Hiking downhill is as tough on your body as an uphill climb, To lessen the impact, try pausing with your weight on one foot between each step; this will relieve some of the strain.
Stream crossing -On the trail most probably you’re going to have to cross a stream while using a pair of trekking poles. The safest way to cross a stream is usually one person at a time, The narrowest point in a stream may be the most is probably the most dangerous point to cross because the current is more powerful there. The widest part is probably the safest. At any rate, going for the slow and deep is usually safer than shallow and fast.
Chapter Six Backpackers list
This is a list of every item you might take on a backpacking trip. No one would ever carry everything listed below; I select items from this master list to create smaller, specific lists of what I need for each particular trip.

Final Word

At the end of this blog, I’ve been surprised at how it’s grown and how much more I’ve had to say. I would like all those authors who dedicated their time for writing various travelling guide books, my blog is 10-12 travel guide books and my small experience also I want to thank various backpacking and gear websites, As always, I hope you find post interesting and useful. I always welcome comments and suggestions.
Backpacking is an activity suitable for able and disabled bodies, young and old. Hikes can be equally enjoyable with family, friends, or alone.
This blog covers the essential gear, preparations, precautions and techniques required for day hiking and short backpacking trips. Stuff is straight to the point and backed insightful first-hand experiences that beginners can relate to easily.
See you on the trail!