We are so habituated to take photographs in this era especially when we are travelling. Taking photographs while travelling is a great way to document our adventures and arrest those gorgeous sights we see along the way.
"I-phone" as we know has one of the best camera than any other smart phones. Since the time I am using iPhone, I have been loving the photography and clicks on the go mode. Sometimes, it is difficult to carry the DSLR with you everywhere even in the city when you are just out for a party or a function or when you are on a vacation. You might just want to shoot any random scenes. Thanks to Apple, The iphone has solved this problem.
An iPhone can take some incredible photos. There is much more to taking a picture than just clicking a button. There are certain tricks and rules, that, when applied will result in beautiful pictures beyond imagination.
Here's some of our tried tips & tricks on How to take stunning Travel photos with an iPhone.
-Prepare Your iPhone camera -

We suggest, before you are out on your journey, set aside some time to prepare your iPhone for the trip. One of the most important things is to make sure you have enough space on your iPhone for lots of new photos. Here, what we like to do is, we always transfer our pictures in an external hard drive once we return from any trip so that the we are not struggling with the iPhone memory to save the pics of our next trip
How hard it would be to run out of memory space half way through your trip! So free up as much space as possible by transferring your existing pictures to your computer. At the other hand, battery life is also equally important as you might be clicking the pictures all day with your iPhone. we would advise to carry Power bank with you to charge your phone as n when needed, which will keep your phone awake and it would give you more hours of shooting the pics.
- Wipe off the Lens before starting-
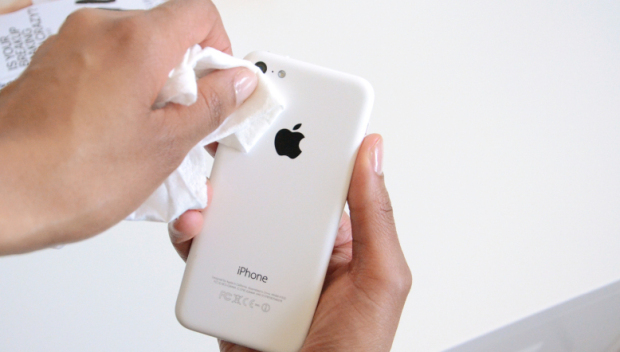
Before starting your photography for the day, Clean your iPhone camera lens with a soft cloth. Yes, your iPhone is exposed to all manner of dust, fingerprints and other debris. Outside or indoors, there's plenty of junk just waiting to get on your lens. If you do not clean your lens, there might be some chances that you get some "foggy" pictures which probably will ruin your photography.
- Always keep Turn on the Grid-
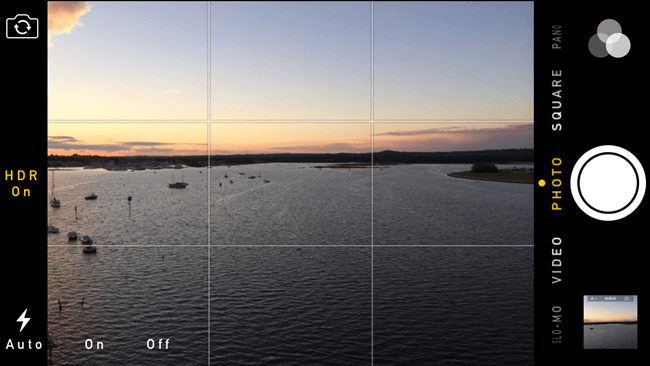
In the photography world, there's something called "the rule of thirds." Imagine your photo divided into nine equal parts using two vertical lines and two horizontal lines. With this arrangement, The rule of thirds states that the most important elements in the scene (subject) should be placed along the gridlines or at the intersections where the lines meet. To us, the best use of the iPhone camera grid is creating balance in the everyday photos we take. Using Grid is all about positioning the most important elements of your subject off-center to create a balanced and beautiful composition.
The iPhone camera grid overlay can also help you take level shots of things like horizons and cityscapes, as well as make creative shots easier, as you'll have a better perspective on the angle and positioning of the objects you want to photograph.
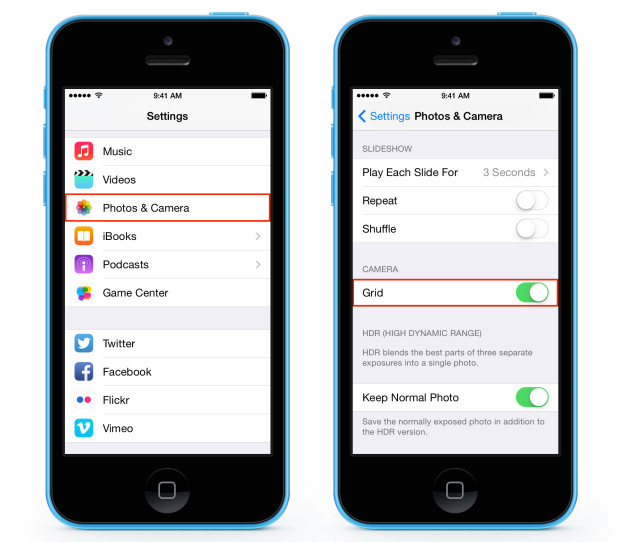
How to Put Grid on iPhone Camera:
-Open the Settings app.
-Tap Photos & Camera.
- Find Grid and toggle it on.
- Use iPhone AE/AF Lock for Perfect Focus & Exposure-
Wondering to know how can you can lock the focus and exposure in iPhone same as in DSLR? Yes Guys, you can do that in iPhone. The AE/AF Lock iPhone camera feature is priceless for attaining perfect focus and exposure in your photos. Using this feature, you will definitely get your photos crisp focused with perfect exposure. It is useful technique when you want to capture any moving vehicle or a running child or taking multiple click of the same scene.
-- AE is for Auto Exposure, where in Exposure refers to the brightness of the image.
-- AF is for Auto Focus where in Focus is to do with which part of the image needs to be appear in sharp focus.
In general, when you decide to click any photo, iPhone will decide which part of the subject needs to be focused. To avoid this, it is great to use AE/AF lock where you can choose the focus manually.
How to set the focus point:
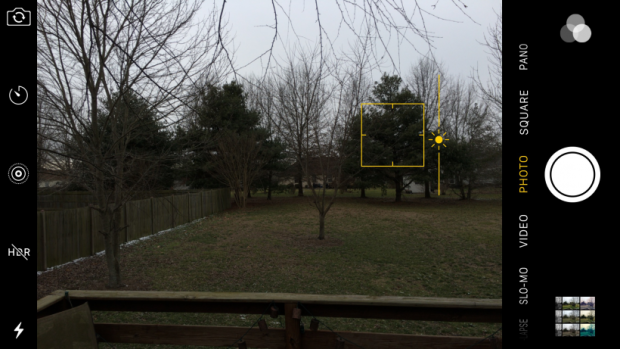
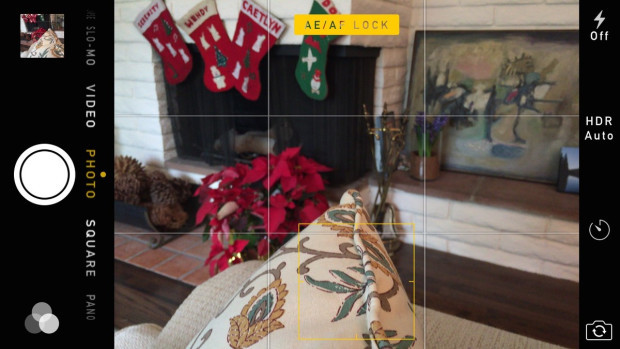
Tap once on the iPhone screen. It automatically sets the exposure level (how bright the subject appears). To adjust the exposure as per you need (brighter or darker) - Tap to set focus (as stated above), you'll see a yellow box appear around the part of the scene that you tapped on (This specifies your focus point). Just swipe up (to make image brighter) or down ( to make image darker) on the screen to adjust exposure to make the image brighter or darker.
How to Use AE/AF Lock to Lock Focus & Exposure:
Tap and hold on the part of the screen (where you want your camera to focus) for a few seconds. You will see AE/AF Lock in a yellow box at the top of the screen. Once AE/AF lock appears on the screen, release your finger. Now, AE/AF Lock is activated, the focus is locked on that part of the scene. It will remain locked until you tap on another part of the screen. Remember, once you've locked focus, you shouldn't change the distance between your camera and the subject i.e. Don't change your position or walk towards/ away from your subject.
- Bid a Goodbye to Zoom function-
Zoom in and out sounds great feature but it really doesn't work well with iPhone. The iPhone has only one lens and the digital zoom is horrible so you shouldn't use that. You must have observed, when you try to get any picture using Zoom function in iPhone, as a result you may not get the clear picture. It is rather very blurred or pixelated.
Instead, what you should do is move towards your subject. It is very easy to stand at one standard place & try to get the picture but that won't always produce the result you want. So, if something is far away, try to move closer and if it is higher, try to get higher. This is the easiest way not only to get the better photos but also be a better photographer at the same time. It will teach you how to compose your shot.
-Know when to use HDR-
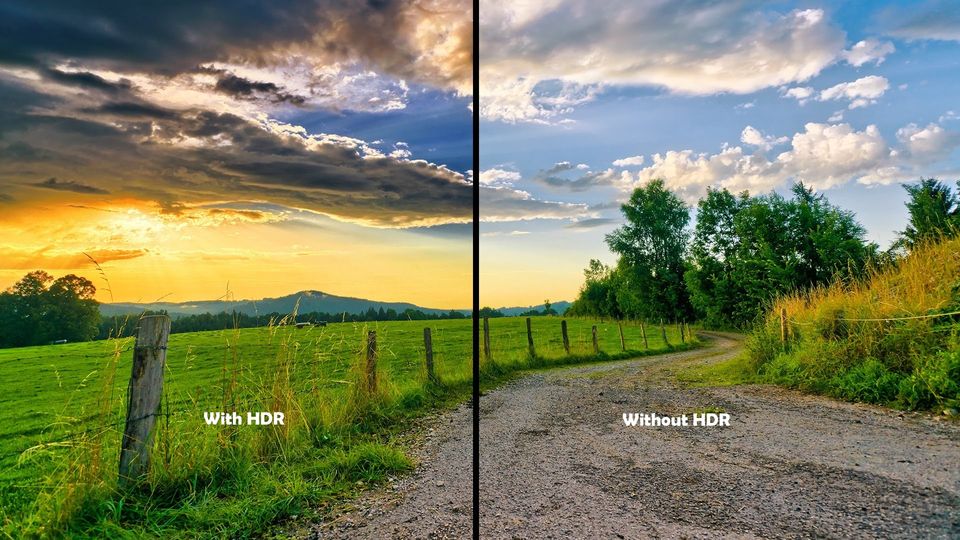
HDR implies or High Dynamic Range. It is basically a method to add more dynamic range colors to your picture. Where in Dynamic range is ratio of the brightest park and darkest part of the scene (image). HDR is designed for us to take the better photos, especially in certain situations. We use HDR function when we click Landscapes, Portraits in sunlight, low light etc. and suggest you try this and we are sure it will give you more detailed and beautiful results.
- Use the headphones that came with your iPhone as a remote for taking photos-
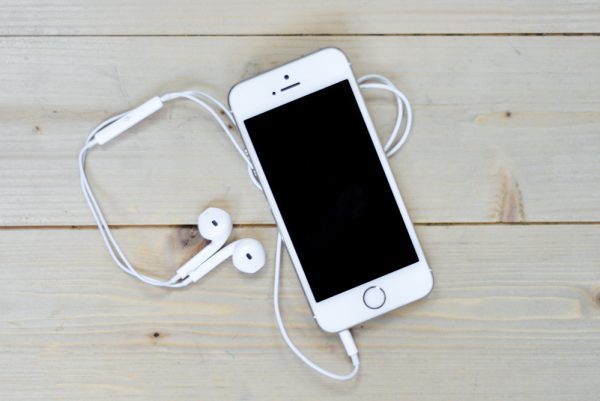
Surprised? Wondering how can you use headphones as remote for your iPhone to click photos? Well you can do that. The two volume buttons on your iPhone headphones can also act as shutter buttons, which means you can click pictures with one hand while holding your phone upward with another, and it works with video too. You can also prop your iPhone up somewhere and use the headphones as a wired remote. Interesting isn't it?
-Take Series of Photos-
We usually prefer to use "BURST mode" of an iPhone. It is the way you can take multiple pictures of the scene in very less time. Just keep pressed the shutter button and release it when you are done. This can be best used with the moving subjects (moving car, running child, capturing any sport's moment etc.). where in you can capture the best shot. You can then run through the multiple photos and pick the perfect one. No more missing a magical moment!
To Access Burst mode:
--Open the Camera on your iPhone Tap and hold on the shutter button to start shooting series of photos .
--Continue holding the shutter button until you are done with the desired pic.
-- Leave the shutter button when done.

- Go crazy with inbuilt filters-
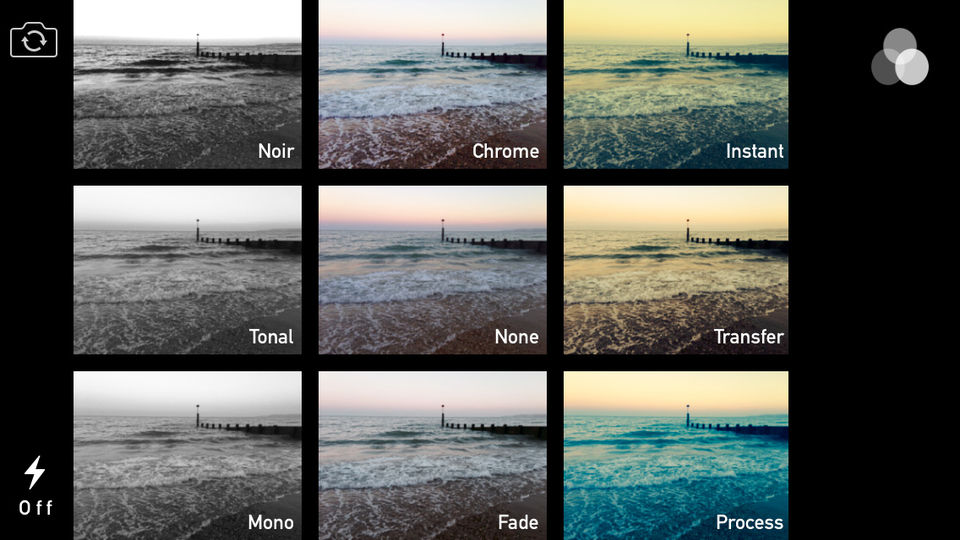
Instead of spending lot of time in editing photo with filters from the Photos app, It is so much easier and affordable to apply real-time filters to the photo you are trying to click with your iPhone camera. You can do a lot with your photos using the built-in filters in your iPhone camera as well.
There are 9 inbuilt filters in iPhone:
Mono: Black and white.
==Tonal: Default setting but stripped of saturation.
==Noir: High contrast black and white.
==Fade: Lightened image with lower saturation.
==None: No filter, the Camera app default.
==Chrome: Brightened image with higher saturation (Favorite one).
==Process: Semi-washed out image with a blue hue.
==Transfer: Somewhat overexposed warm hue.
==Instant: Retro brightened image with a yellow hue.
How to choose your fav filters:
Launch the Camera app on iPhone You will find three white circles in the bottom-right corner. Tap on the three circles Filter board will pop up and you can choose the filter you want with live preview by tapping on it. Click your photo and as usual, your photo will be saved in camera roll.
- Avoid Flash-
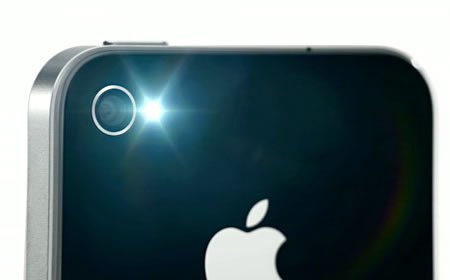
Turn the flash off. iPhone's flash certainly doesn't give the best results. Don't use it unless it is dark like inside the club or the outside in the night. Instead, there's trick that we use, if need for us to click the picture in the dark. We ask friend or someone to hold up their phone's flash light on the subject. This way the angle of light gives shape as opposed to your flash right next to the lens making a flat over exposed image. Try it once.
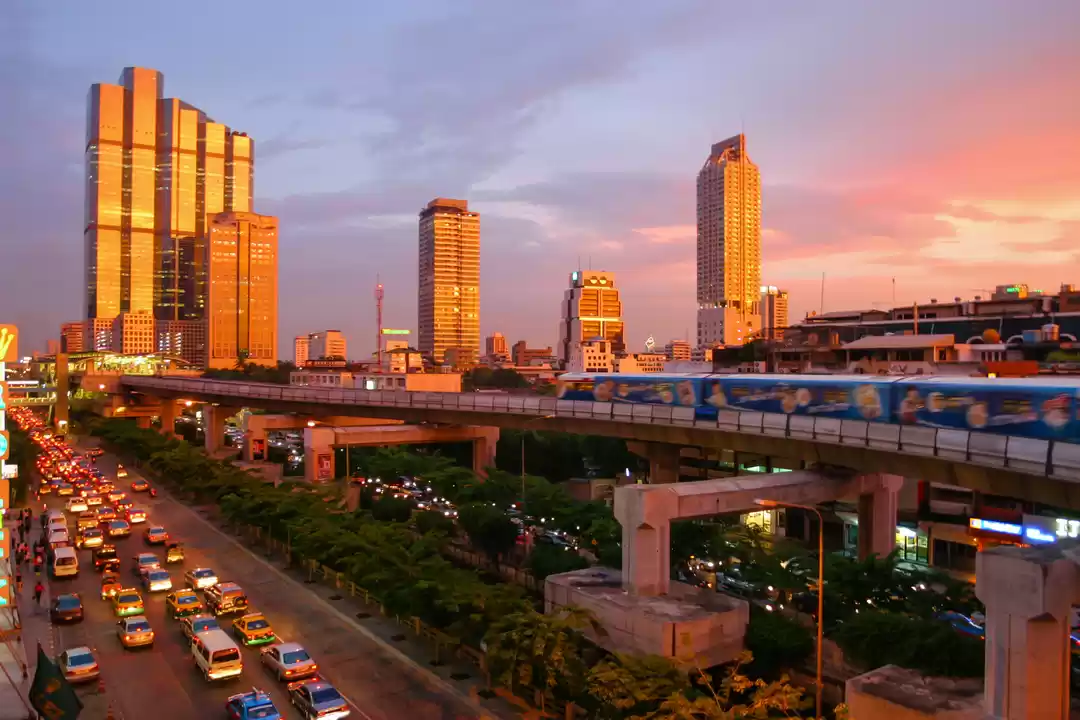
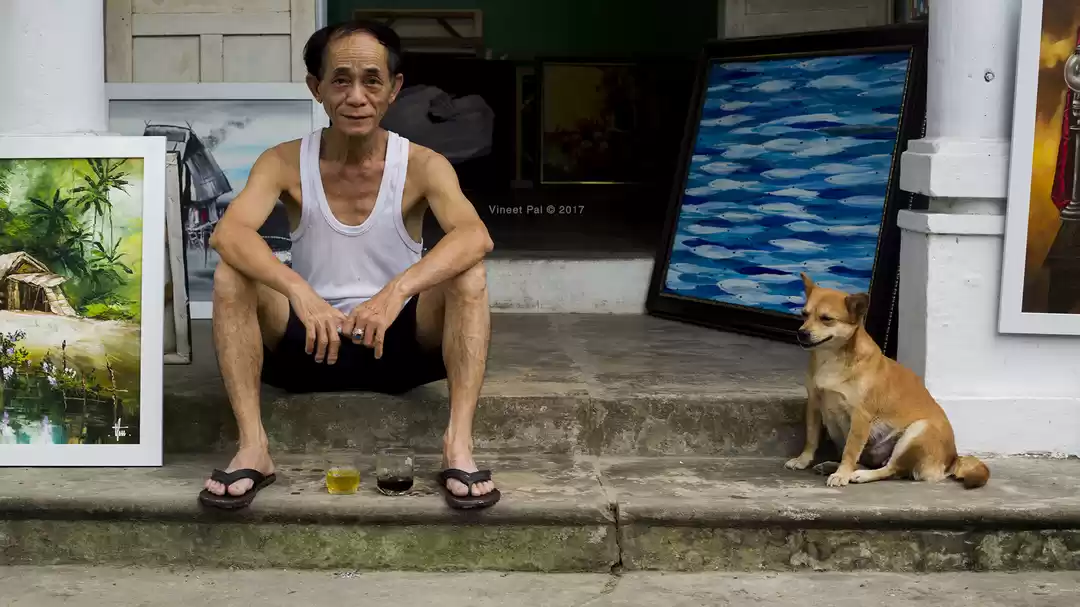
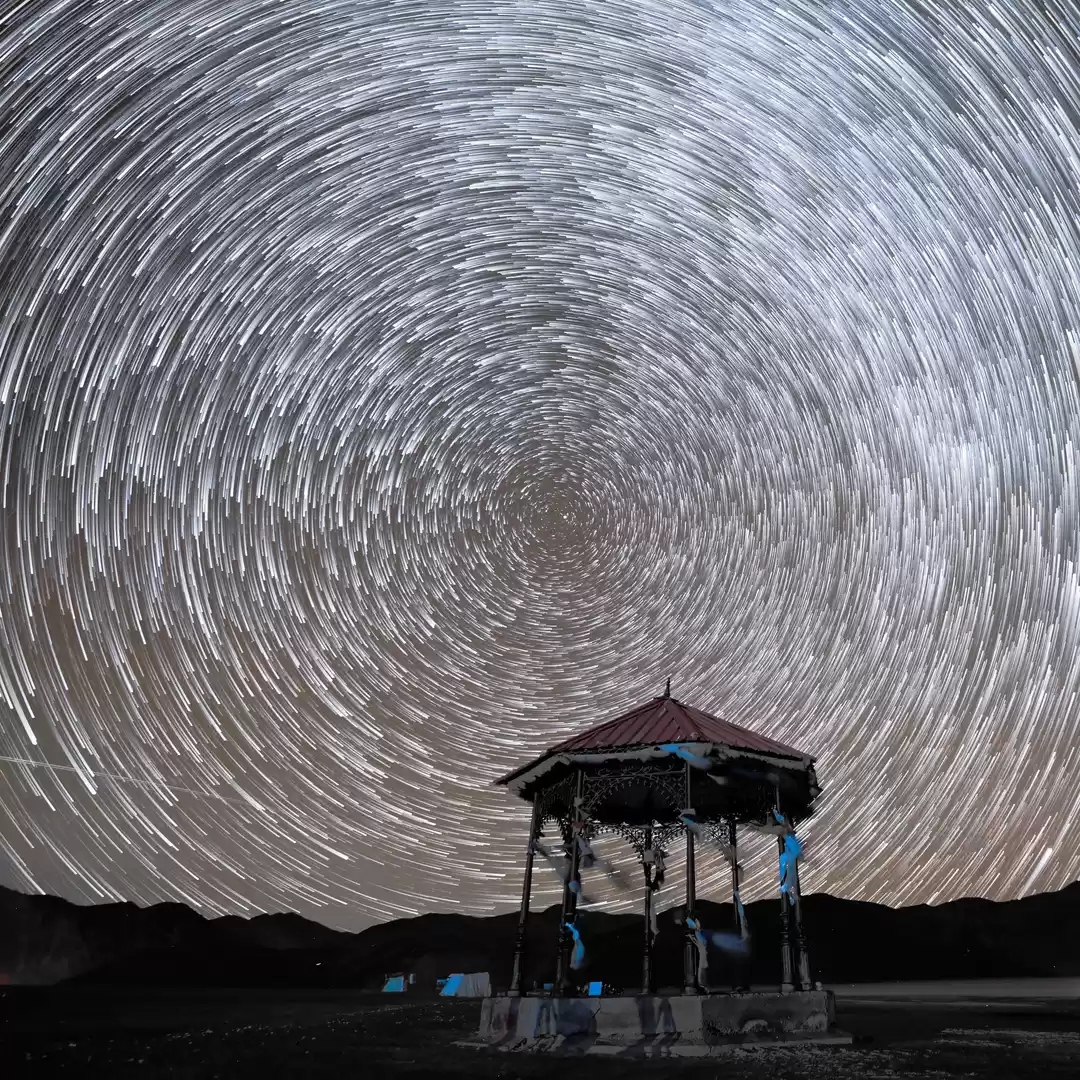
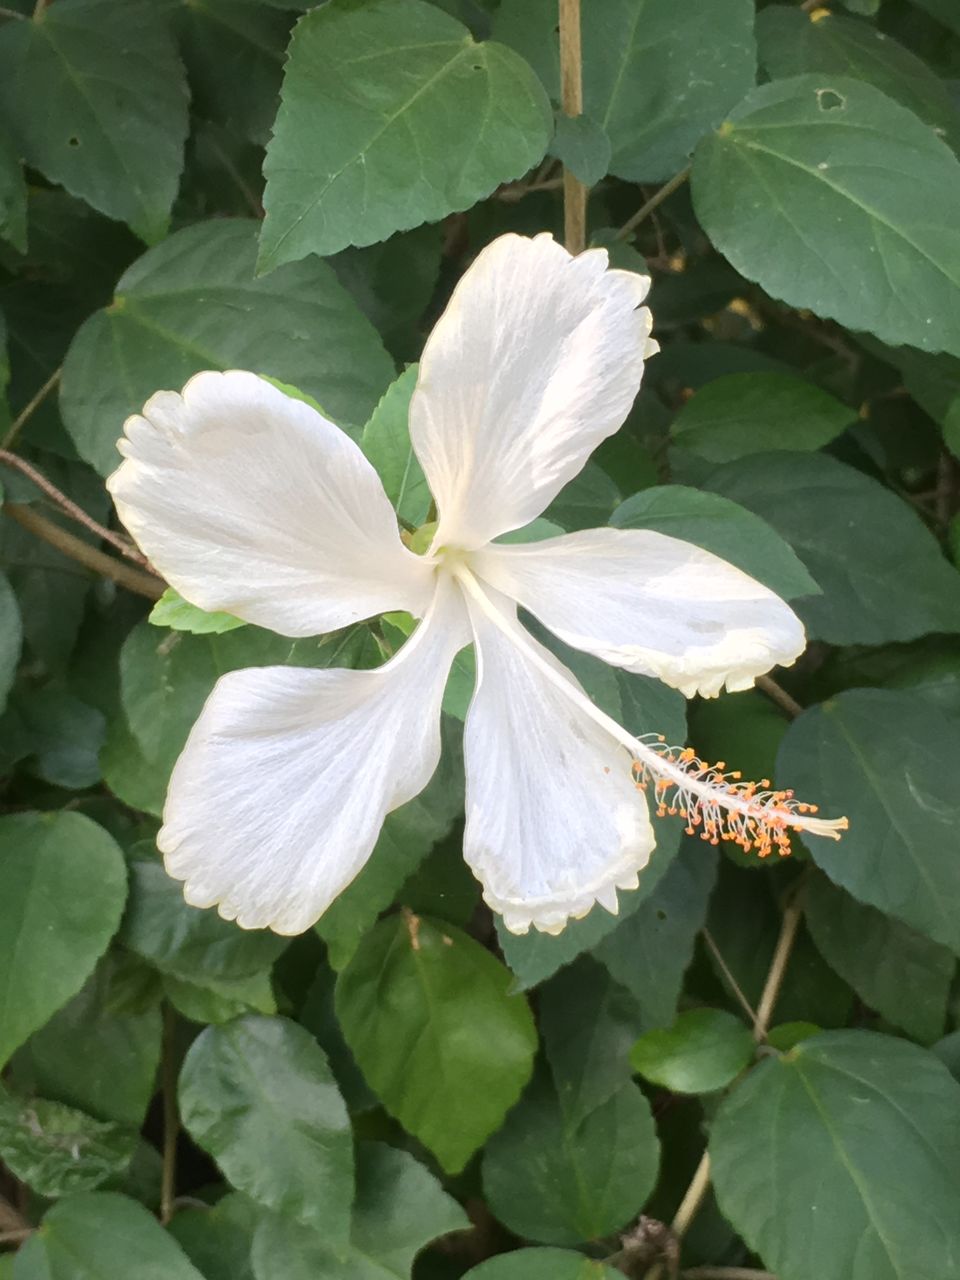
Here are some of our pictures that we clicked with an iphone 6s during our travel.
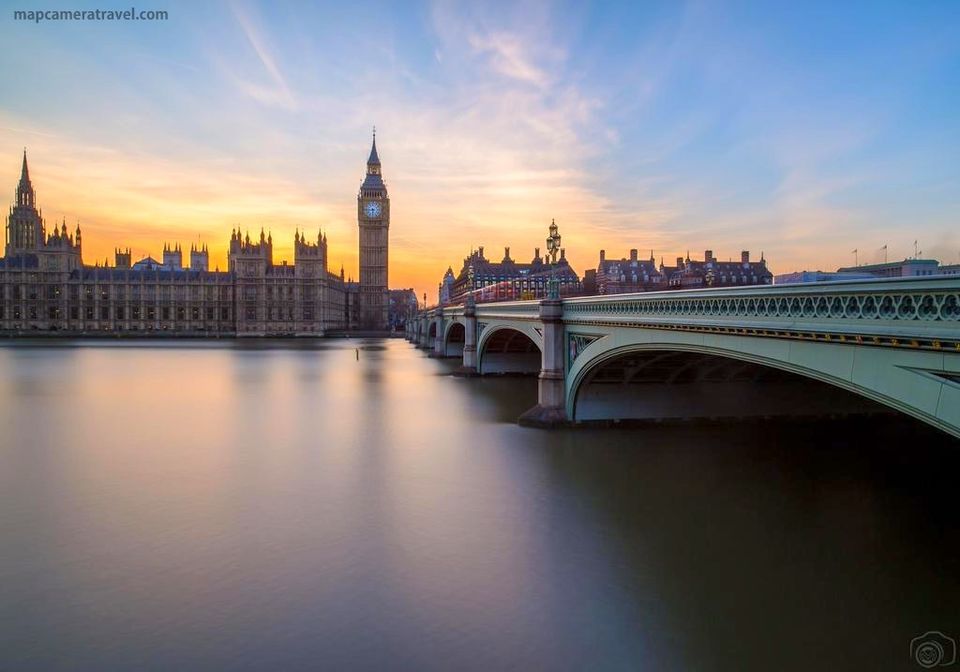
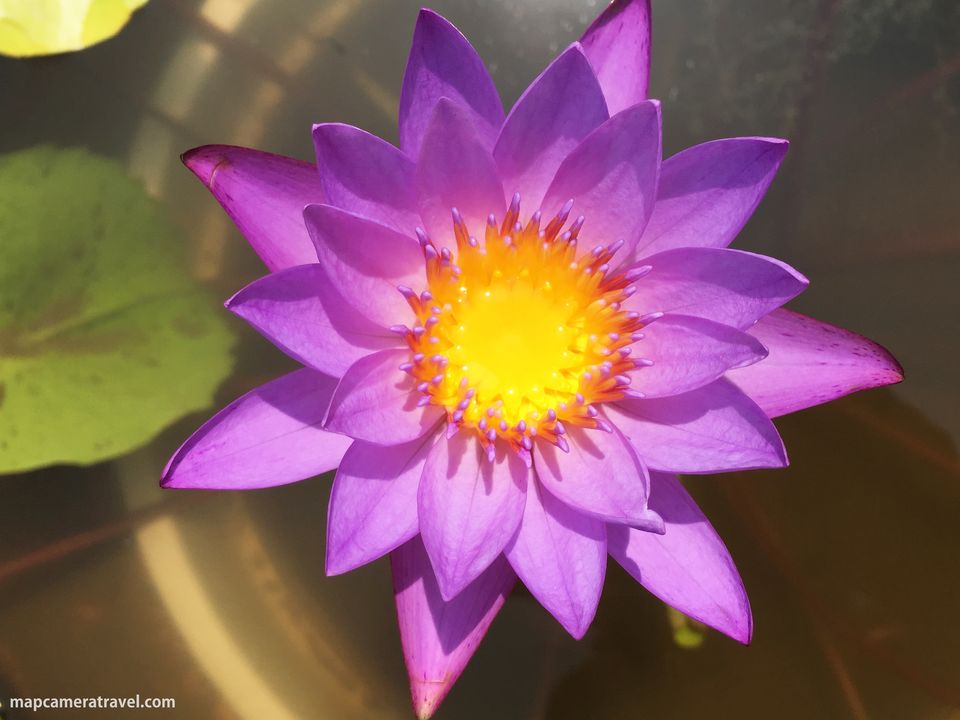
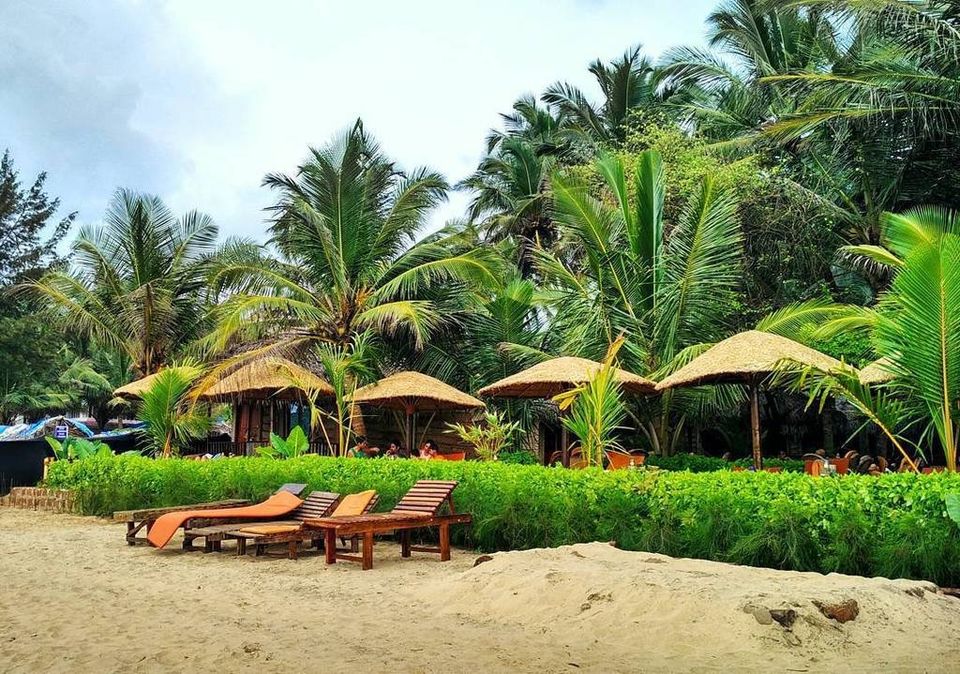

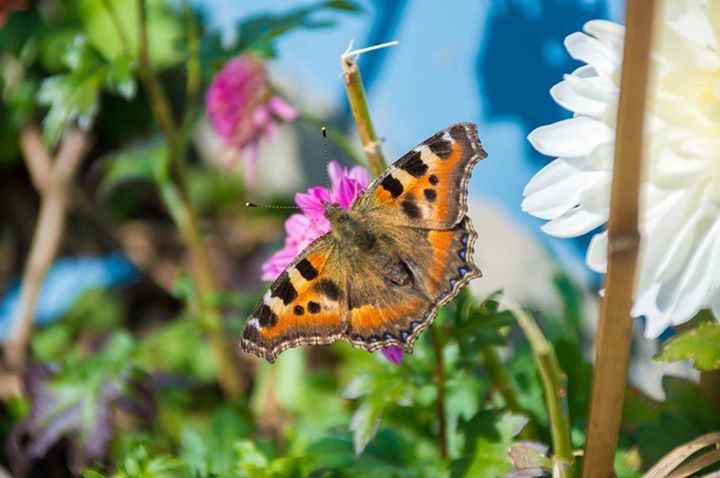
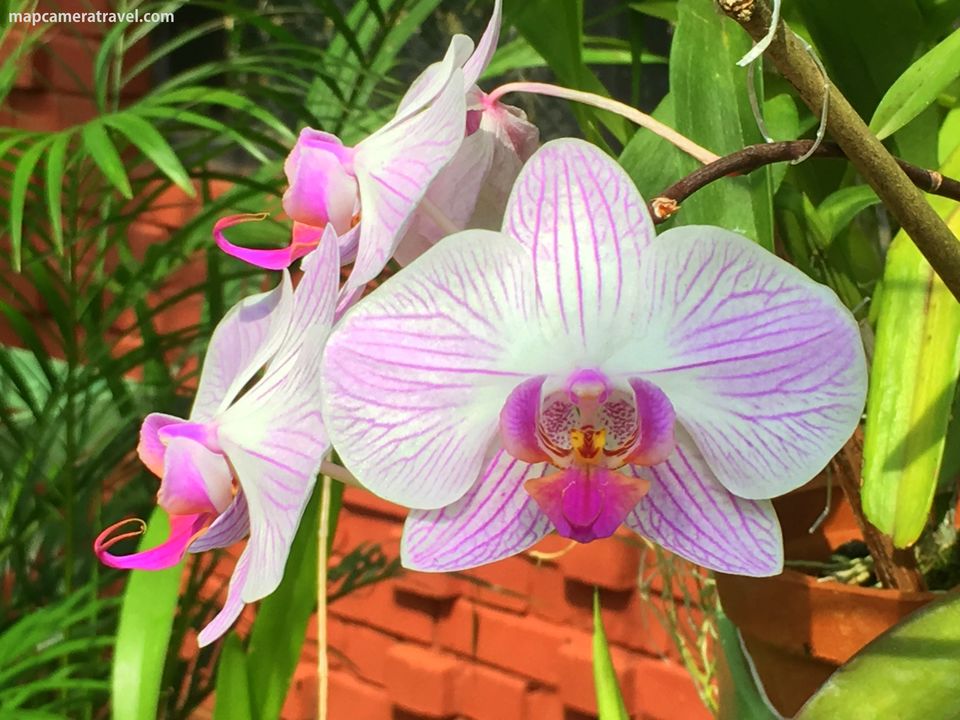
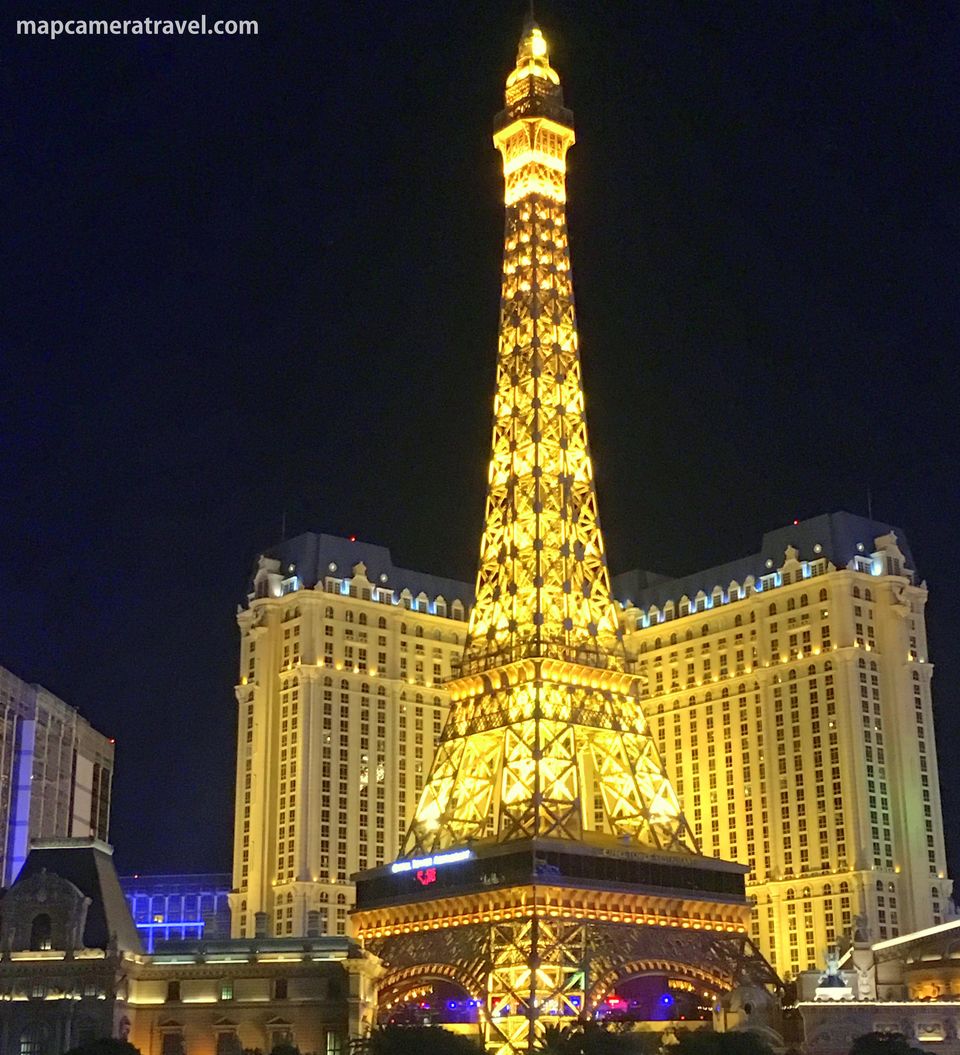
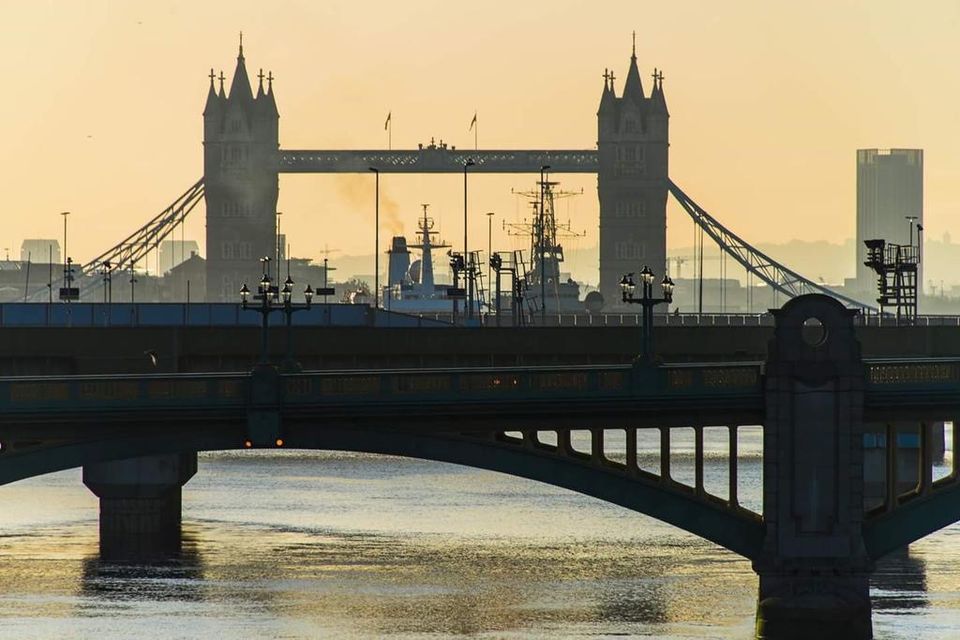
Like it or not, but these days, more photos are being taken on mobile phones than cameras. And as someone said, " The Best Camera Is The One You Have With You " and certainly to this, iPhone does a great job.
What tips or tools do you have for taking the best iPhone photos? Share your own secrets in the comments below!

