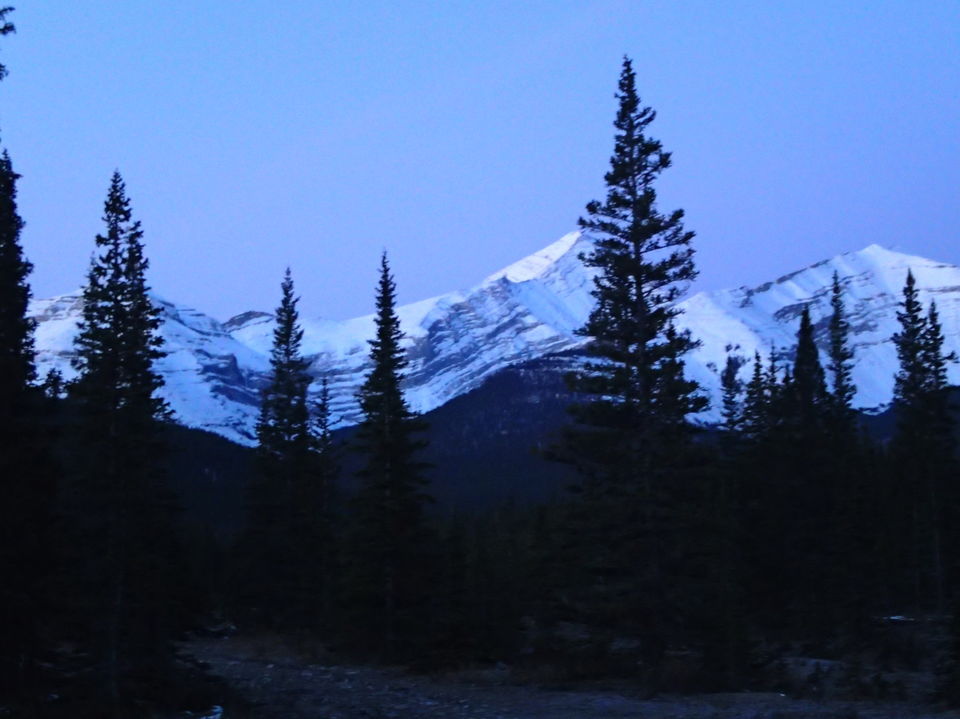
Winter hiking, you say? What kind of daft idea is that? Winter is for hibernating inside beside a cozy warm fire, not for traipsing around outdoors. While relaxing beside a warm fire, skiing, sledding, and skating are certainly more normal winter activities, there are a fair number of hikes that can be easily done in both the shoulder seasons (September-November and April-May) and in winter itself. There are a number of easy hikes that can easily be done in the winter season.
Winter hiking takes a little bit more preparation than a summer hike. It is necessary to check conditions, have the right gear for emergencies, and make sure that you are dressed appropriately. Avalanche risks are very real and take a great deal of awareness.
If you are planning in hiking in avalanche areas or doing back country winter hiking, then I recommend taking a specialized avalanche preparedness course. Most local universities will offer weekend courses and additional gear is required for hiking in avalanche areas. This can usually be rented from university outdoor centres for a small fee if you don't have it or don't want to bring it with you in your travels. For example, the University of Calgary Outdoor Centre (http://www.ucalgary.ca/outdoorcentre/rental) rents winter clothing, avalanche gear, and other recreation gear for outdoor adventures.
Dressing for Winter Hiking
First off, dress in layers. When the body gets too warm, it sweats to cool itself off. Usually this is a good thing, but in winter, soggy clothes can quickly freeze and make you very cold. It is best to dress in either synthetic clothing like fleece or wool. It is generally best to overlap layers when possible; for example, tuck your undershirt into your leggings, then your sweater over the pants, making it harder for cold winds to get through the layers. Below are my recommendations for the coldest days; remove layers if it is warmer.
Base layer: wool leggings and long sleeved wool undershirt.
Mid layer: Wool or fleece pants, wool or fleece sweater, wool ski socks, and wool glove liners. Glove liners are thin gloves that go inside your outer gloves. These allow you to do up shoes, take pictures, and grab things without having to expose your bare skin to the elements. It is important to only wear one pair of socks and to make sure that they aren't too thick. Cutting off circulation to the feet by wearing too many pairs of socks in your boots will only make feet colder, not warmer.
Outer layer: nylon or gortex shell pants, nylon or gortex winter jacket, fleece or wool balaclava, fleece or wool beanie/toque, nylon or gortex outer gloves, and winter boots.
It can be a good idea to pack an extra pair of gloves and an extra pair of socks into your backpack, especially for children. This will allow you to change out damp socks or damp gloves halfway through your hike, which also helps prevent the formation of blisters.
Additional Recommended Gear
- Daypack - suitable for carrying your gear
- Small collapsible shovel
- Emergency kit: first aid supplies including tensor, bandages, and foil blanket
- Pocket Knife
- Fire making- flint and steel or waterproof matches
- Water - Approximately 2 litres per person per day
- Food
- Hiking poles
- (Optional) Thermos full of a hot beverage of choice: tea, hot chocolate, etc.
- Pea-less Whistle
Fire making supplies will help you to stay warm in case of an emergency situation that requires you to stay out overnight. For food requirements, it is up to the individual, but expect to be hungrier than usual since your body is working not only to carry you on the hike, but also to keep you warm.
AVOID ALCOHOL. While it may be tempting to put some rum into that thermos of hot chocolate, alcohol will actually slow your metabolism and make you feel cold faster. Save it for after your hike is done.
Steps to Follow
Before you head out on your hike, follow these steps:
- Check avalanche conditions. If the rating is High or Extreme - DON'T GO! A good website for the Calgary area is: http://avalanche.pc.gc.ca/index-eng.aspx?d=TODAY
- Check weather conditions. If weather is unsettled or temperatures are expected to drop below -30C - DON'T GO!
- Prepare your gear.
- Let someone know where you are going, what route you are taking, and when you expect to be back.
- Go on your hike!
Be advised that to be able to legally drive in British Columbia during the winter months, it is necessary to have winter tires. Check if your tires have a small snowflake symbol before driving. There are still plenty of good winter hikes in Alberta, although winter tires are still recommended for back roads.
Suggested Hikes
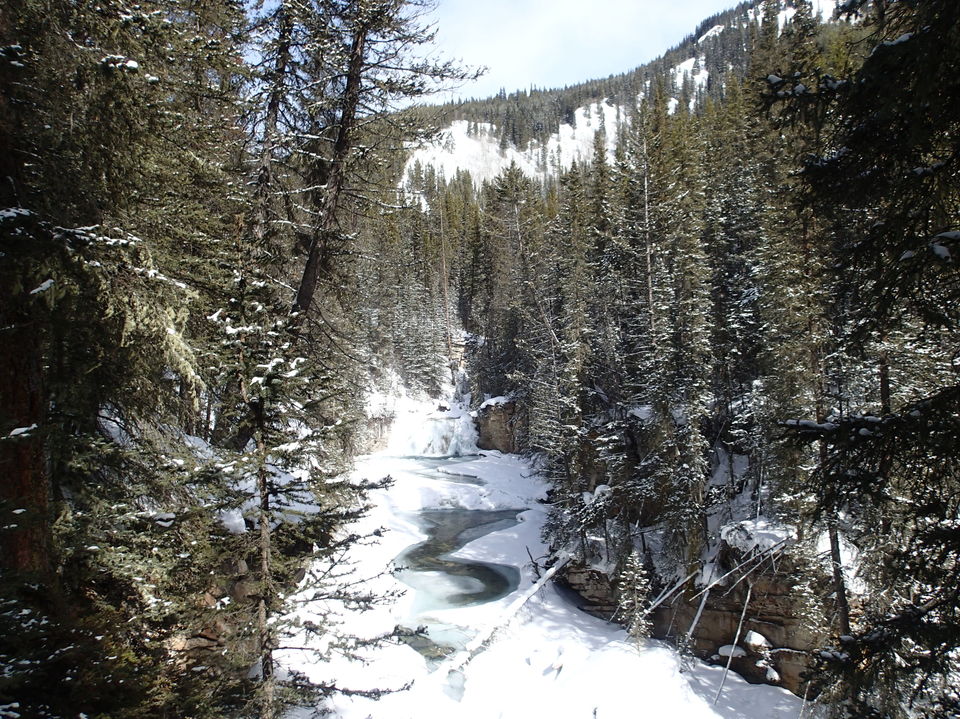
Heart Creek - 2 km one way
This trail is accessed off the Lac des Arcs overpass on Highway 1. It is a scenic trail following a narrow creek canyon over 7 bridges to a hidden waterfall. In winter, the creek is usually frozen, although it is still possible to hear the water flowing under the ice.
Prairie Mountain Viewpoint - 6.6 km one way
Access from the Barrier Dam day use area. The trail crosses the dam and then switchbacks through the trees to provide spectacular views of Barrier lake and the surrounding mountains. This is a more moderate hike as it has significant elevation gain.
Grassi Lakes - 3.5 km return
Access from the Grassi Lakes Day use area. This trail offers 2 routes, one easier and one harder, to the shallow Grassi Lakes. The paths are well signed. The easier route follows an old road through the dense forest. The more difficult route follows a dirt track through the forest before reaching a steep section of stone steps that pr[-ovides excellent views of a waterfall and the town of Canmore. The stone steps can be slippery in winter and the more difficult route is sometimes closed as a result.
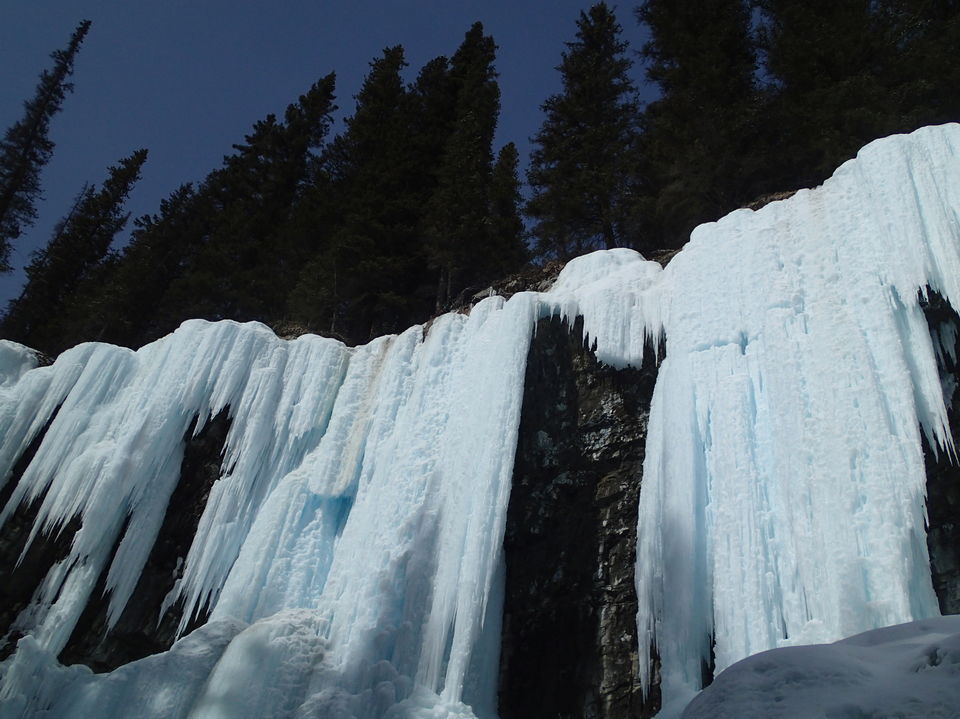
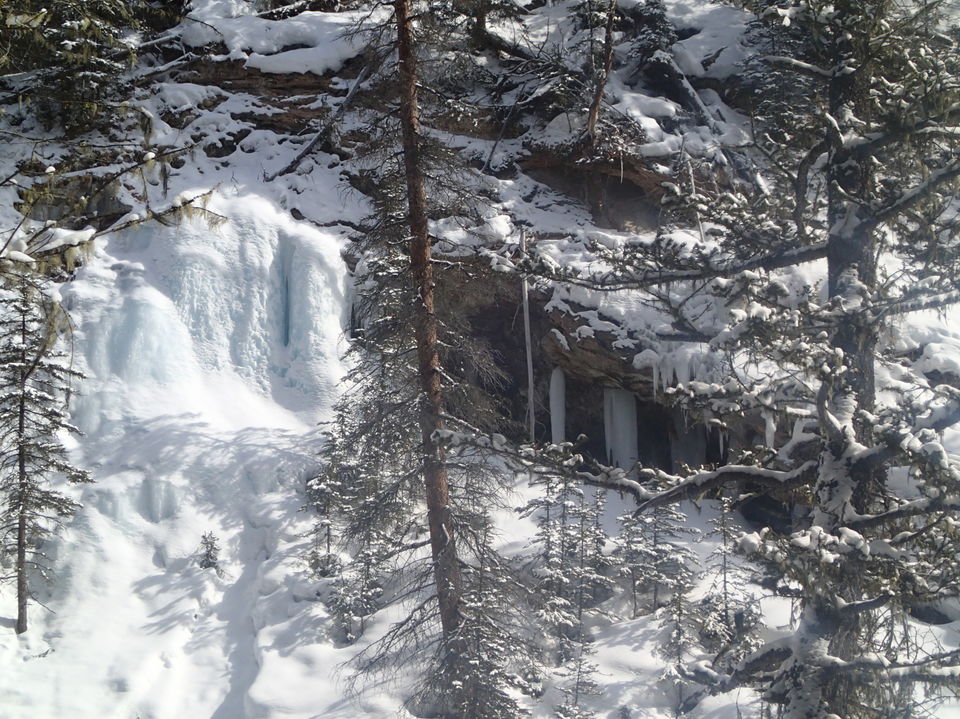
Grotto Creek Canyon - 2.1 km one way
Access from the Grotto Mountain day use area on highway 1A. This easy trail initially follows a small powerline cut past the power plant and then winds its way up a narrow canyon to frozen waterfalls and vertical rock walls. If you look closely at some of the walls, it is possible to see native American pictographs.
Fullerton Loop - 6.8km return
Access is from the Allen Gill Pond Day use area access road. The route climbs the edge of a ridge, offering great views of Moose Mountain and across the Elbow Valley. The trail then drops into the valley behind the ridge for some easy hiking through dense forest.