In this guide I’d like to tell you about my 3-day trip to Triund Hill and Lahesh Cave and provide some information that I wish I knew when preparing for this trip. It could be especially useful for those who want to make this journey on their own, without an accompanying guide.
[Disclaimer] Everything described here is my own experience. All the numbers regarding estimated walking times vary from person to person, weather and prices differ depending on the time of the year. For the reference, our trip was during the middle of June 2018, during the high season.
Why going to Lahesh Cave?

Lahesh Cave is a cave located in a valley 5 hours away from Triund Hill. While Triund is a very popular trekking destination with lots of tents that are already set up, tons of cafes on the way and as a result, there is a large crowd climbing up there every day, Lahesh Cave remains pretty unknown, despite all the great views it has to offer. But because of it’s relatively unknown status it’s a perfect opportunity to spend a day in a secluded place, sleep in a cave overnight(!!!) and enjoy the untouched beauty of Himalayas. Furthermore, it’s relatively easy to get there, you can do it without an accompanying guide.
The Route
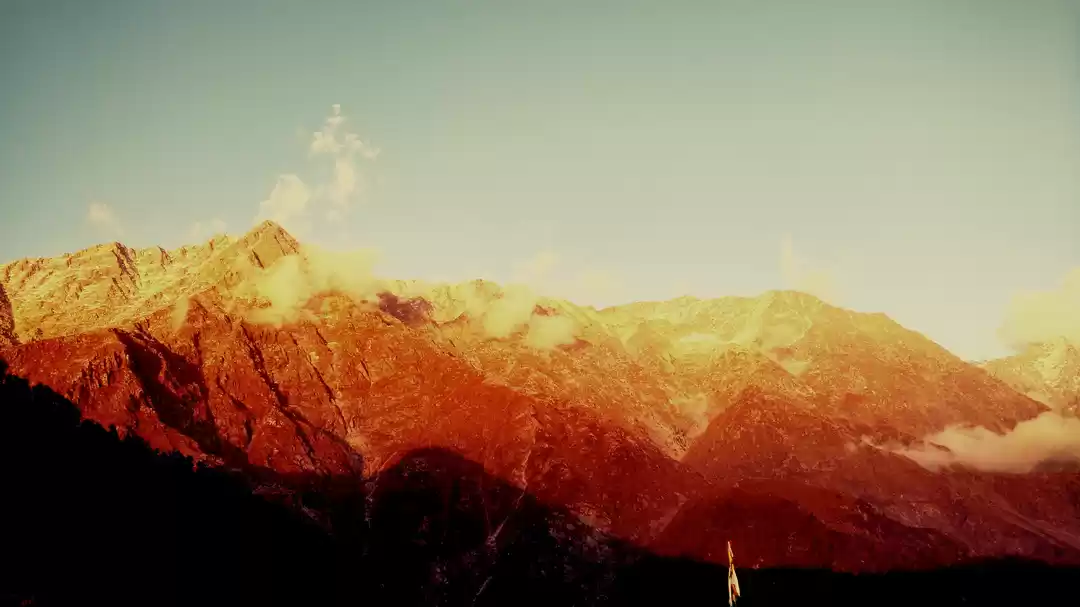
Day 1 Triund Hill

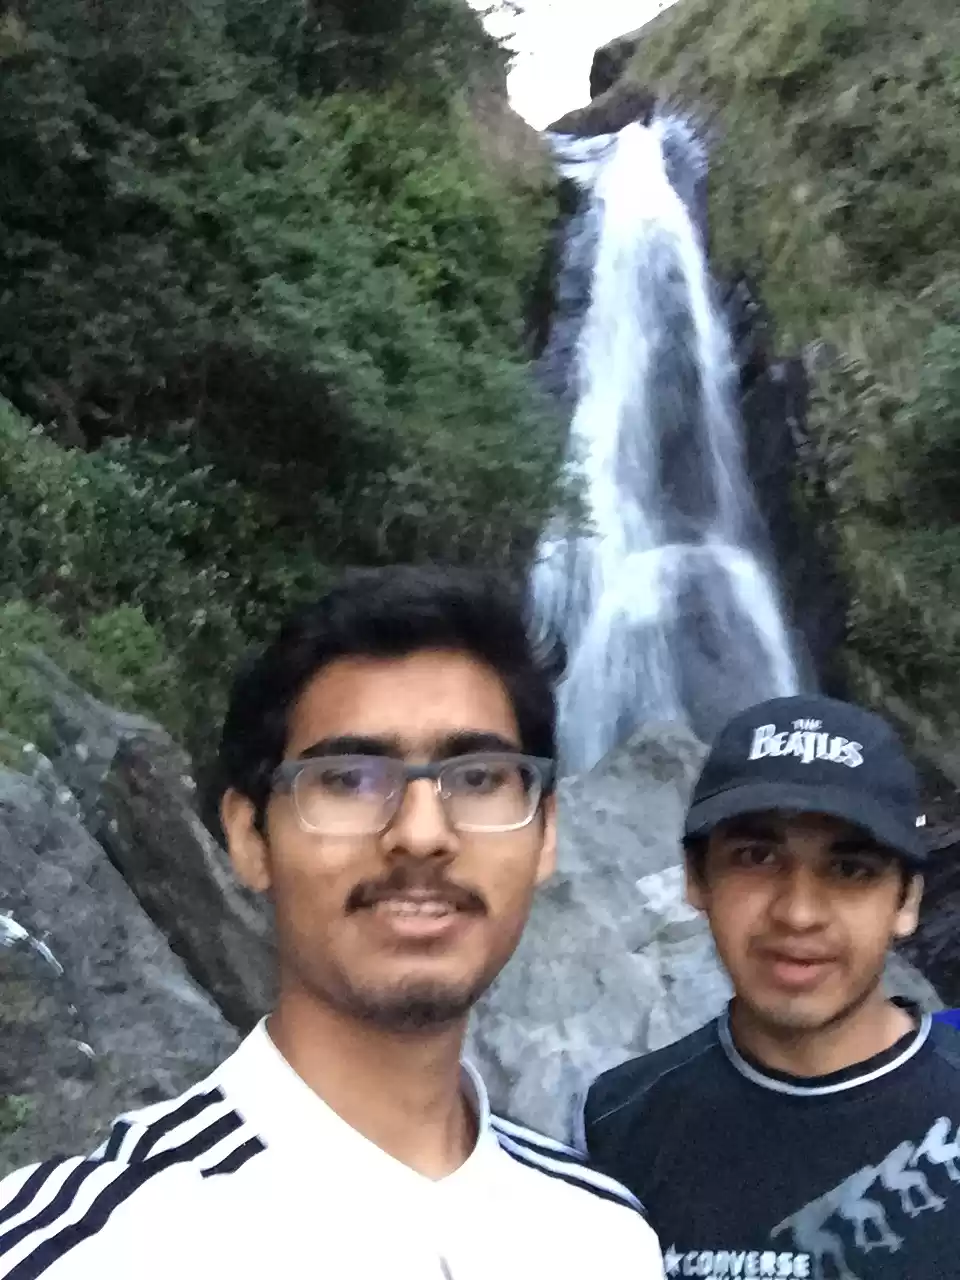
The best place to start from is Mcleodganj. From there the first milestone is Gallu Devi Temple. It should take you at most two hours to get there. At Gallu Devi Temple you can take a tea-break and start your ascent to Triund Hill. It’s very hard to get lost along the way because there’s basically one trail and you should see cafes every 20 minutes along the way. However, the elevation is around 900 meters, so be ready to sweat. Going from the Guna Devi temple to Triund should take around 3-4 hours, not taking into account all the breaks to take pictures of the amazing views. There are many beautiful spots along the way, but the scenery at Triund Hill is even better.
We started at around our journey 10am and with all breaks and lunches reached Triund at around 5pm. So I would definitely recommend starting in the morning if you don’t want to trek in the dark.
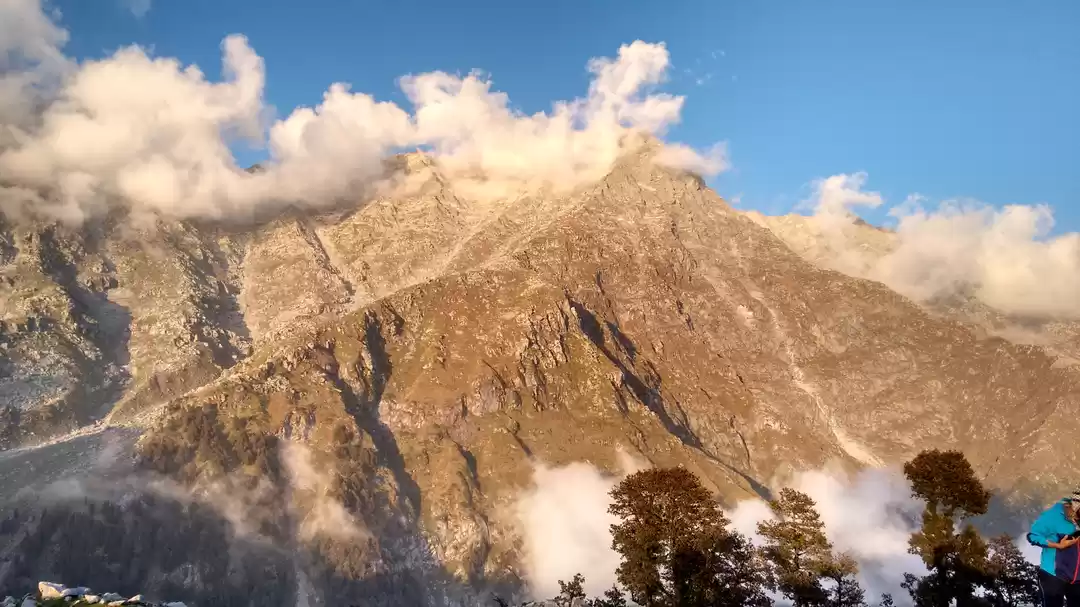
Day 2 Lahesh Cave

After staying overnight in a tent at Triund Hill, we departed to the Lahesh cave early in the morning.
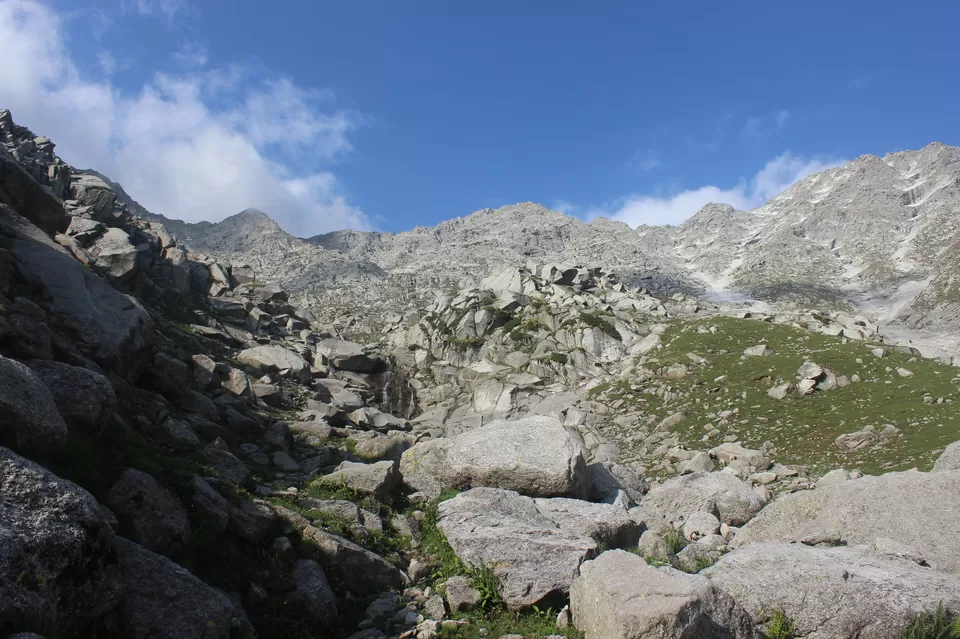
The whole route should take you about 4 hours, but the weather in Himalayas is quite unpredictable. Even if the morning is sunny, it can rain for two hours in the afternoon. Keeping that in mind I would recommend starting early. I find the area around the Lahesh cave much more beautiful than the Triund Hill so it’s better to spend more time there.
The first part of this route goes till Snowline Cafe, it takes about 1.5-2 hours to get there. This is the last place where you can get food, so I would recommend making a stop there. I would also definitely ask the folks at Snowline Cafe to give you as detailed directions to Lahesh Cave as possible, because these will be your main source of navigation.
For us, the part after Snowline Cafe was the most adventurous one. During the last hour of the hike there is no trail to follow. Instead, you follow a stream. At the beginning, you will be on the right side of it. The cave is on the other side so along the way try to find a good spot to cross the stream. While doing research for this guide I saw mentions of a trail leading directly to Lahesh Cave, we didn’t find one so I would double-check this with the folks at Snowline Cafe.
Day 3. Back to Mcleodganj
The way back is much easier, it took us around 6 hours of walking time to get back to Gallu Devi Temple following exactly the same path.
Equipment
If you don’t have basic trekking clothes (like hiking shoes or a wind jacket) you can buy those in McLeodGanj. I trekked in my running shoes, but I don’t advice that because there’s a greater risk of getting an injury. You will also need a tent to sleep and there are two different options to get one.
Option 1. Renting gear in Mcleodganj
You can rent a tent, sleeping bag and a mattress in one of the numerous trekking organizers in Mcleodganj. Even if you don’t want to book a tour they will happily rent you equipment. After visiting literally every tour organizer in the town, we can claim that the best price you can get without outstanding bargaining skills is 1000Rp for a tent+2 sleeping bags+2 mattresses of mediocre quality. The price is per night.
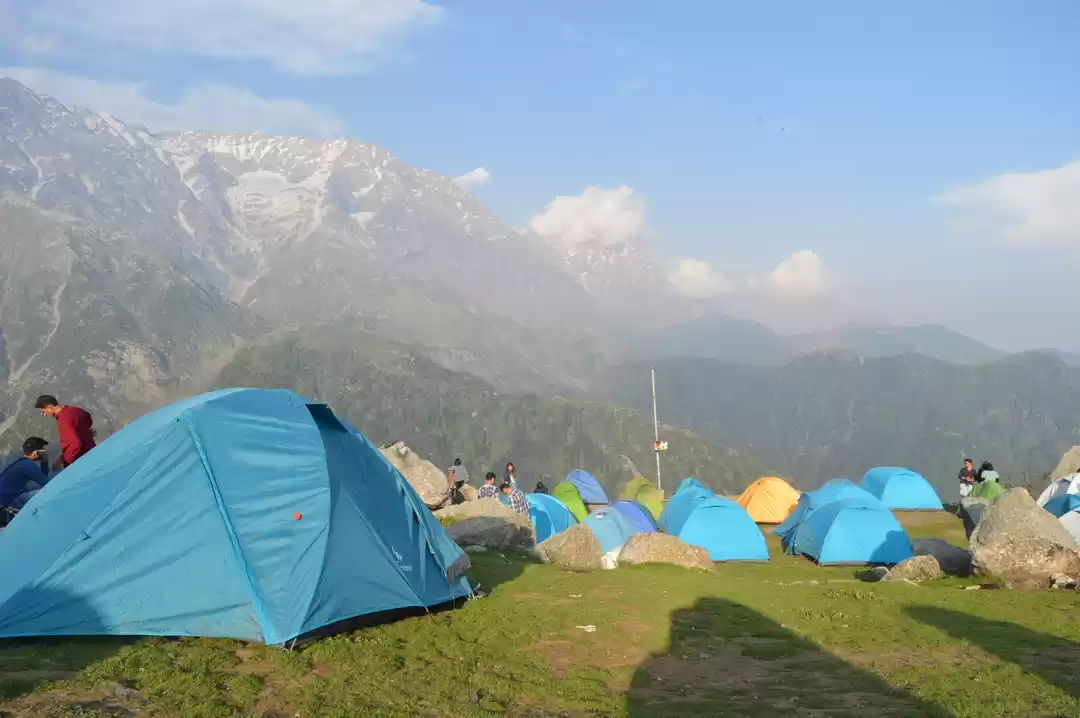
Option 2. Renting a tent in Triund
Another option would be to rent a tent directly at Triund, there are many tents that are already set up and waiting for the guests. A clear advantage is that you don’t have to carry the tent all the way up and the price is the same as renting a tent in McLeodGanj. But on the other hand you still need a sleeping bag and a matrace for Lahesh Cave. Theoretically, you can rent those at Triund Hill as well, but it’s a subject to availability, so there’s a small risk that there will be none.
We went for the first option, I don’t mind trekking with a tent in my backpack and it’s nicer when you don’t have to worry about the logistics during the trip.
Food
For me, food is an important part of trekking experience. A cup of chai with rice and dal after a day of trekking refuels your energy and tastes better than in any fancy restaurant. Therefore here’s an extensive guide about eating options during the McLeodGanj - Lahesh Cave trek.
Eating at Triund
During the first day you can get every meal in one of the numerous cafes located along all the way to Triund Hill as well as on the hill itself. On the way you can get instant noodles as well as many snacks. On the hill there’re more options like rice with dal or omelette with toast. On the second day the last place to get the food cooked for you is Snowline Cafe.
Eating at Lahesh Cave
You will have to get at least two meals at Lahesh Cave (a dinner on the 2nd day and a breakfast on the third day). The best thing to do for dinner thing is to make a bonfire. For that you will have to prepare in advance. There’s no wood available around the cave, the last place you can collect some is at Snowline Cafe. Also, quite probably wood will be wet, so you need kerosine to light it up. You can buy some in McLeodGanj, we found a very helpful guy at a Indian supermarket on the Dharamkot Rd., who arranged 500ml of kerosine for 50Rp for us.
There’re many bonfire dishes. If you manage to get a pot, you can cook basically anything. However, to boil the water you will need a lot of wood. We just grilled mushrooms on the open fire on a stick. With a bit of salt they tasted amazingly good! After that we made tons of s’mores. Breakfast however was less successful. We were supposed to bake potatoes in the ashes (we left them for too long and potatoes themselves turned into ashes) and eggs that we asked to boil for us in one of the cafes (they were boiled hard enough and completely crashed in the back pack).
On the way back you have all the same options you had on the day one: numerous cafes on the hill and on the way down.
Weather
The weather will obviously depend entirely on the season. There are two things however that I keep getting wrong. Firstly, at the 3000m altitudes it gets cold even if it’s summer downhills. The temperature at Lahesh Cave can fall to 1-2°C in June, so make sure to take warm clothes and good sleeping bags. Also, it rains a lot in Himalayas and quite often you want to keep going. Buying a very cheap plastic raincoat in McLeodGanj can save you from a light rain.
Stretch goals
If you have one more day or you feel super energized and willing to trekk more, there are several options available
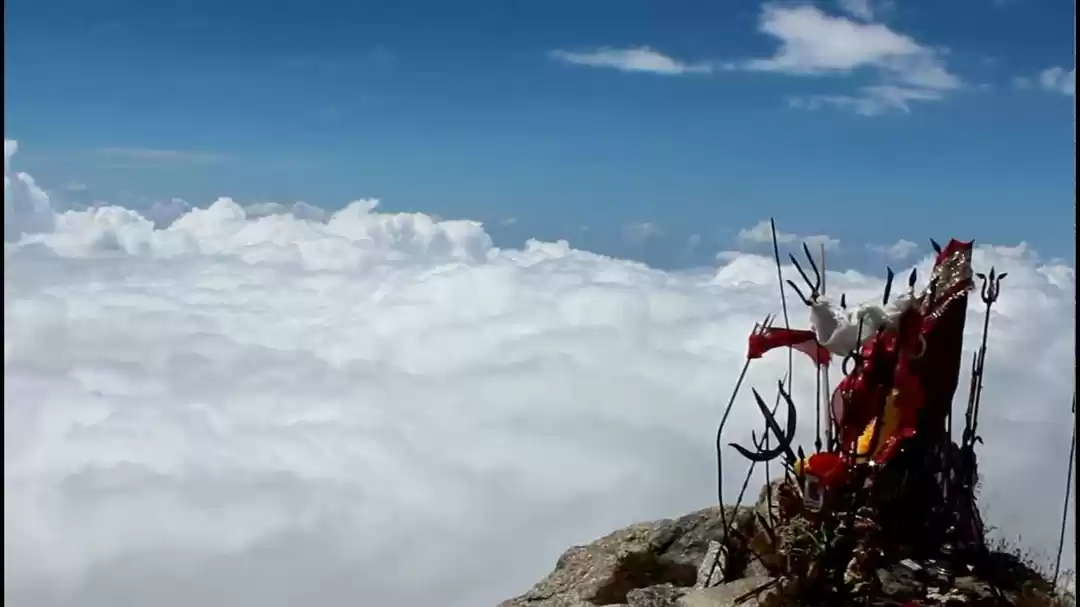
Indrahar Pass (4300m)
Located at the 4300m altitude, Indrahar Pass can be reached from Lahesh Cave within 3 hours. But keep in mind, the way is super steep and will require you to be in good shape, especially considering that this is the 3rd hiking day.
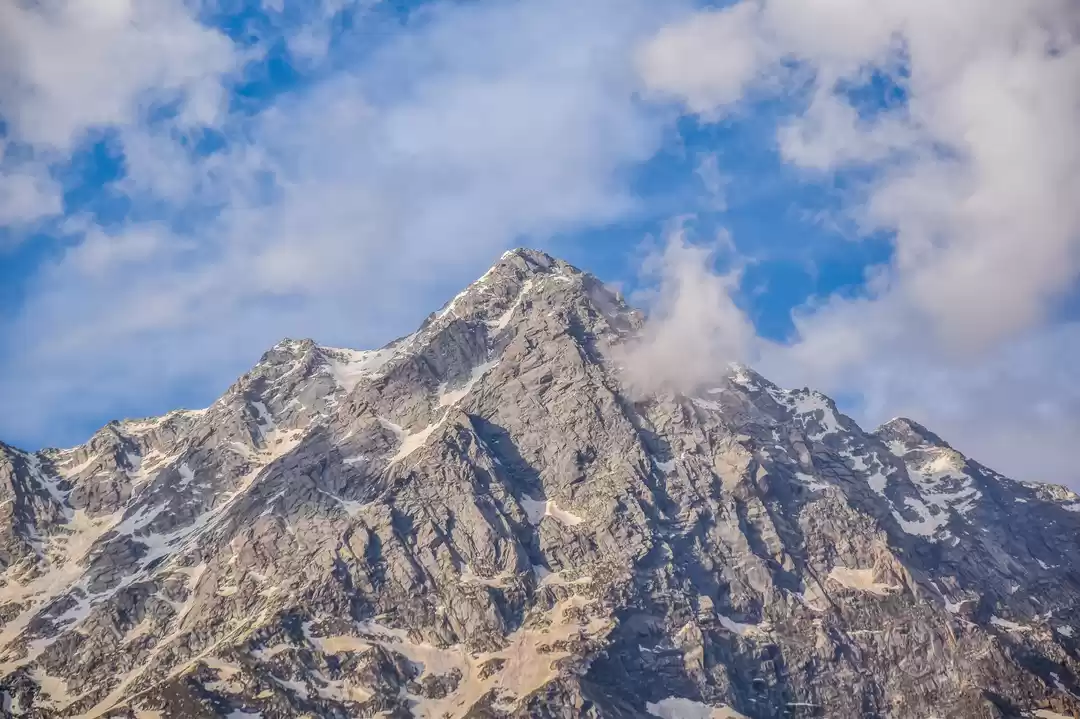
Moon Peak (4632m)
Even a more ambitious goal is to continue to Moon Peak after reaching Indrahar Pass. The internet suggests that you can do both in one day. However, if travelling on your own, without a guide I’d be more conservative and devote a whole extra day to it.
Now it’s time to pack
These are the most important things I wanted to tell. I hope that it will help you to have a safe and fun journey!
You can help to make this guide more useful by sending information that is missing or not up-to-date.
Special thanks to Balie Tomar for proofreading a draft of this article.


' fill='%23359391'%3e %3cpath d='M46.1538462%2c43.5714286 L41.5%2c50 L36.8461538%2c43.5714286 L36.8670256%2c43.5714286 C36.3173077%2c42.7142857 36%2c41.6851429 36%2c40.5714286 C36%2c37.4854286 38.4535641%2c35 41.5%2c35 C44.5464359%2c35 47%2c37.4854286 47%2c40.5714286 C47%2c41.6851429 46.6826923%2c42.7142857 46.1329744%2c43.5714286 L46.1538462%2c43.5714286 Z M41.4294872%2c39 C40.6150641%2c39 39.9487179%2c39.675 39.9487179%2c40.5 C39.9487179%2c41.325 40.6150641%2c42 41.4294872%2c42 C42.2439103%2c42 42.9102564%2c41.325 42.9102564%2c40.5 C42.9102564%2c39.675 42.2439103%2c39 41.4294872%2c39 L41.4294872%2c39 Z' id='Location-white'%3e%3c/path%3e %3c/g%3e %3c/svg%3e)