The Northern Lights are on the bucket list of millions of people across the world yet only a few can brag about having ticked it off their list.
And to cash in on the aspirations of these potential customers, there are a million (well not million) but hundreds and thousands of tour operators, hotels, resorts and destinations offering you a once in a lifetime chance to see the Northern Lights perform live. No doubt planning a Northern Lights trip can be confusing and daunting.
Here, I try to compile a list of everything you need to know to see and photograph the Northern Lights plus some tips that will help you enjoy this life changing experience.
You can also read about this on my blog: www.getbusylivin.in
Watch the Northern Lights Video here
This post is divided into the following sections, in case you wish to skip over some things that you already know:
Section A- What are Northern Lights
Section B- Seeing the Northern Lights
Section C- Photographing the Northern Lights
------------------------------------------------------------------------------
Section A
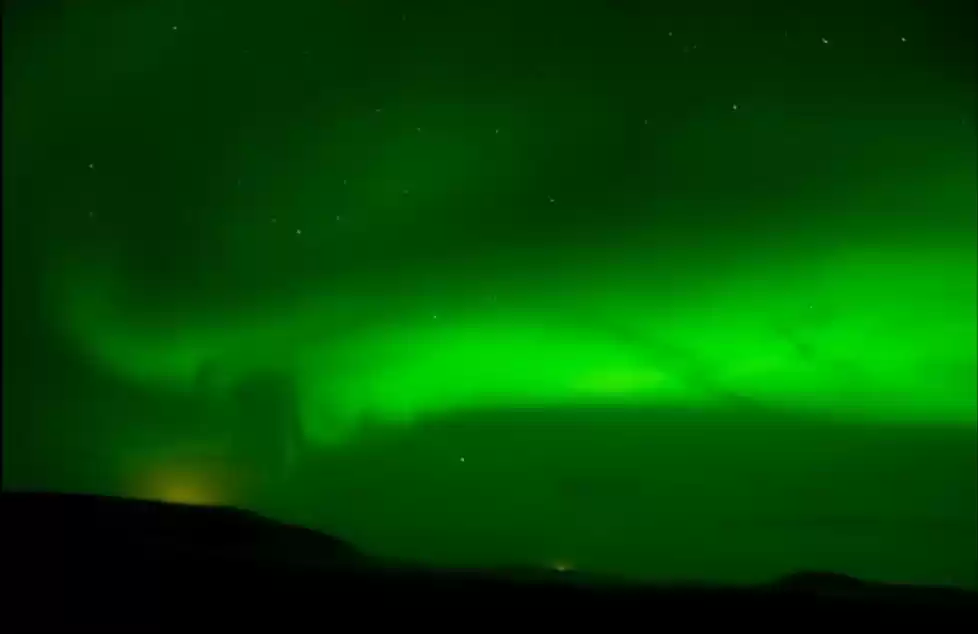
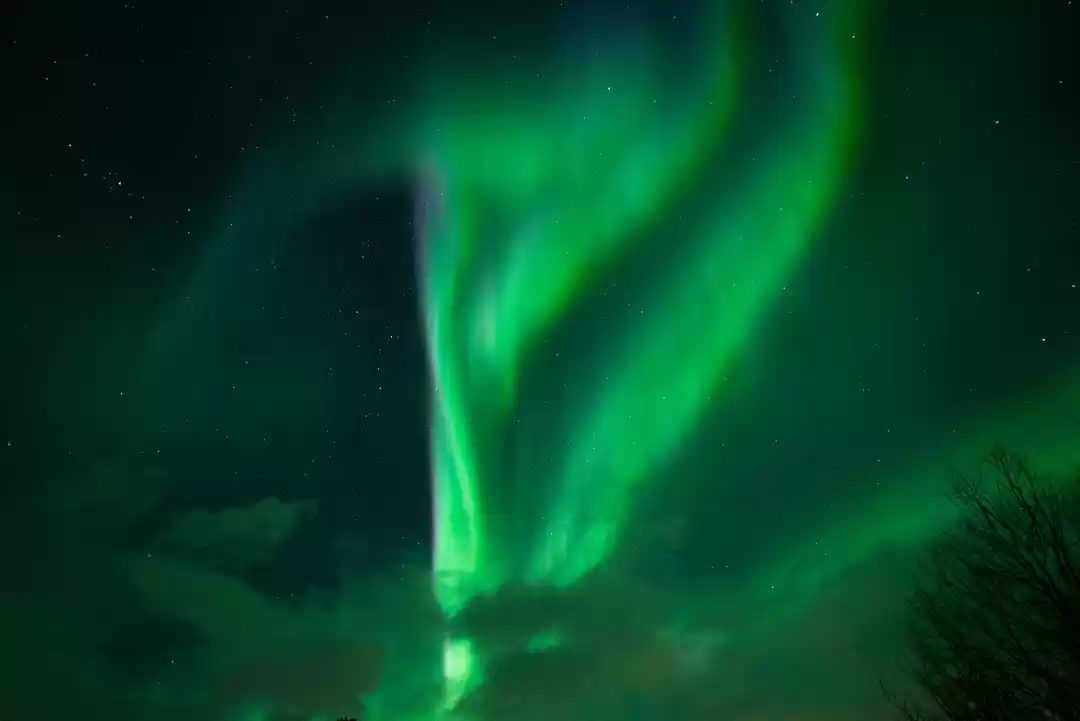
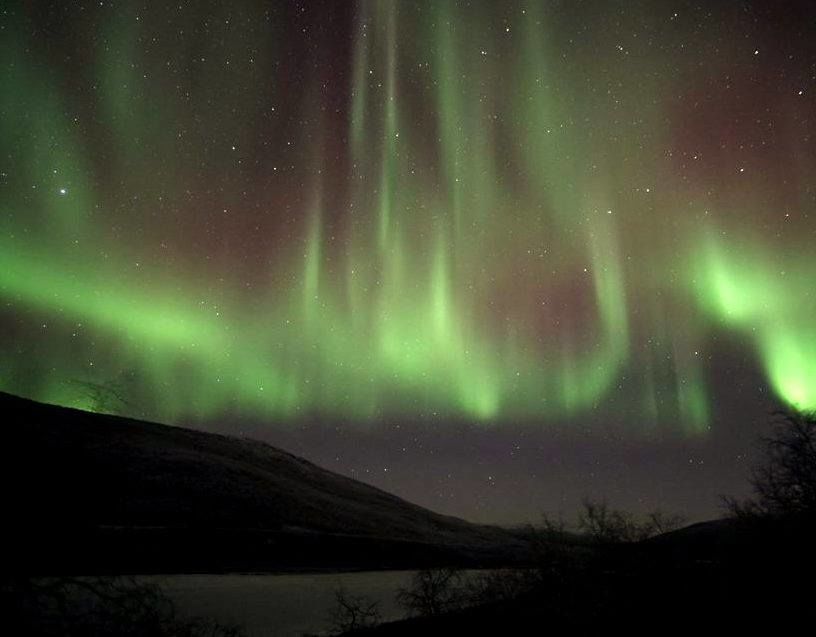
What is Aurora Borealis (Northern Lights)?
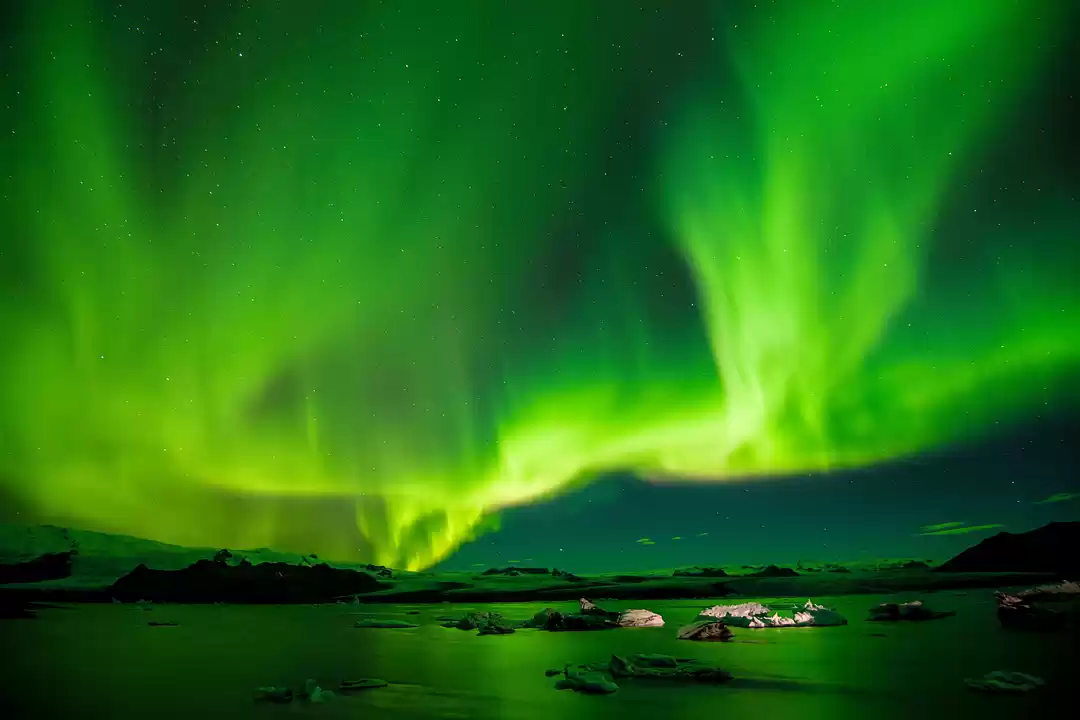
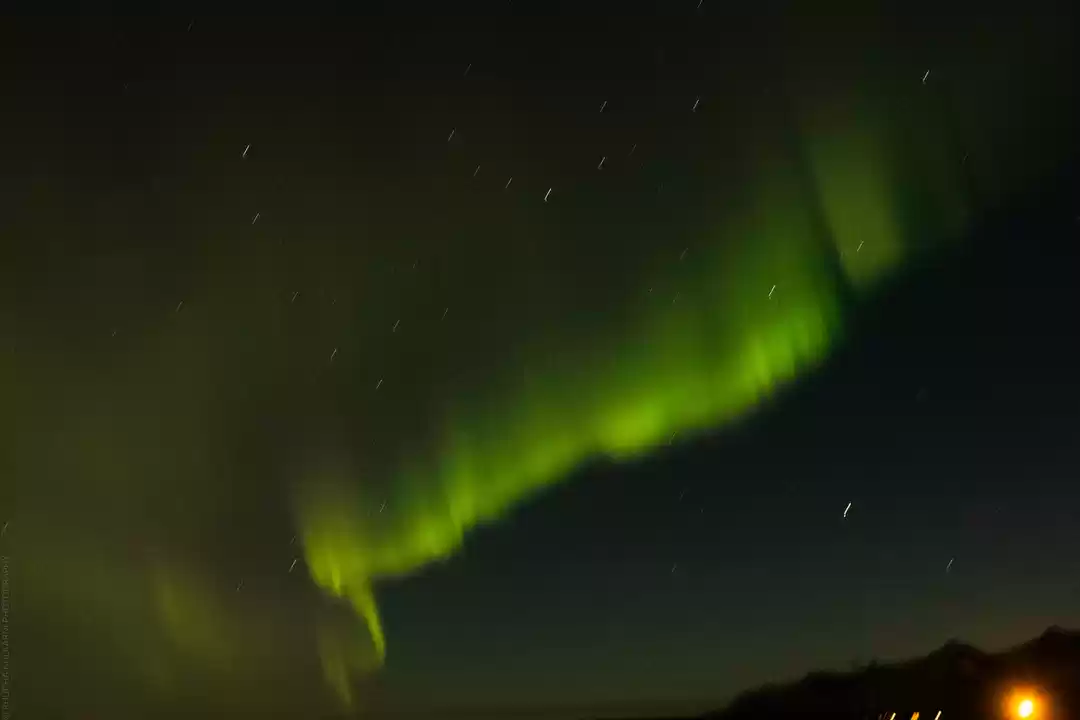
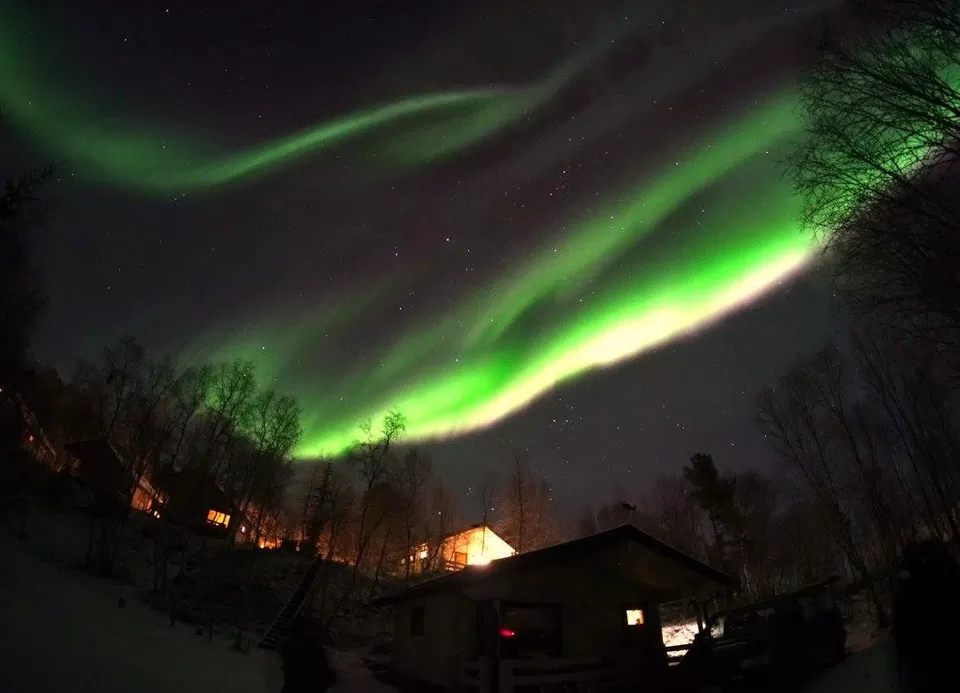
To put it quite simply and in the most layman terms possible, The aurora borealis (northern lights) form when charged particles emitted from the sun during a solar flare penetrate the earth's magnetic shield and collide with atoms and molecules in our atmosphere. These collisions result in countless little bursts of light, called photons, which make up the aurora (Northern Lights).
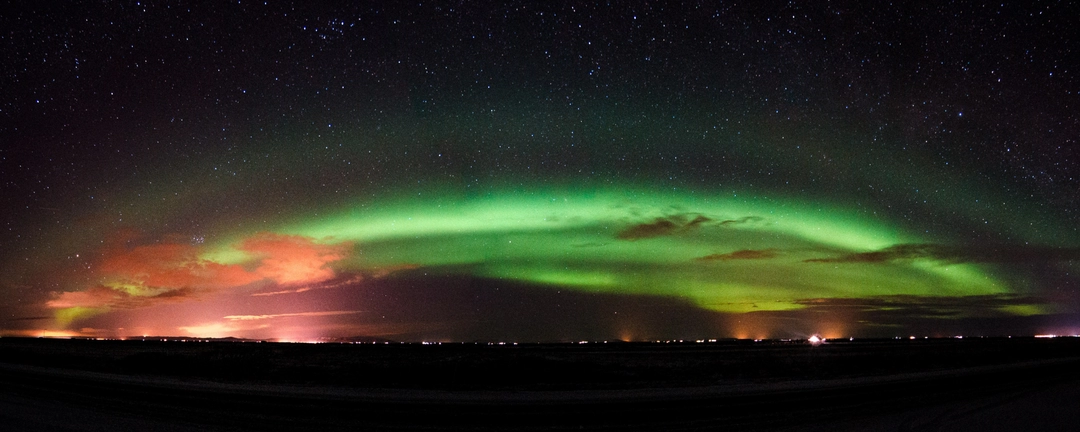
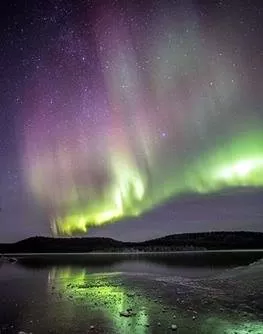
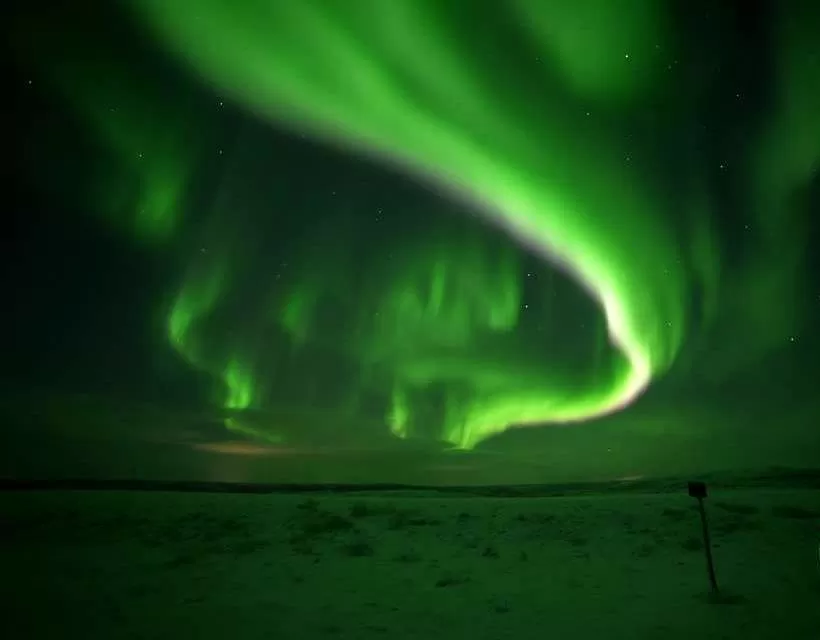
Collisions with oxygen produce red and green auroras, while nitrogen produces the pink and purple colours.
In the northern hemisphere they are called the aurora borealis (northern lights) and in the southern hemisphere aurora australis (southern lights).
Tip: Monitor the Kp Index- a system of measuring aurora strength. It goes from 0 to 9 (0 being very weak, 9 being a major geomagnetic storm with strong auroras visible). There are hundreds of sites and app providing free Kp updates. So when you’re looking for aurora forecast, you want to see high Kp numbers.
Section B
Where is the best place to see Northern Lights and when?
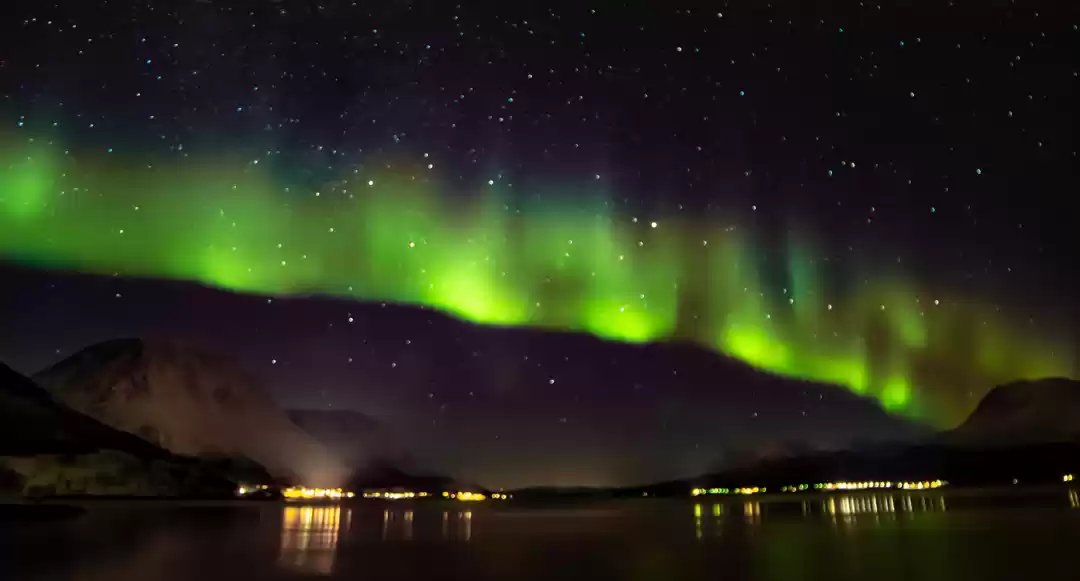
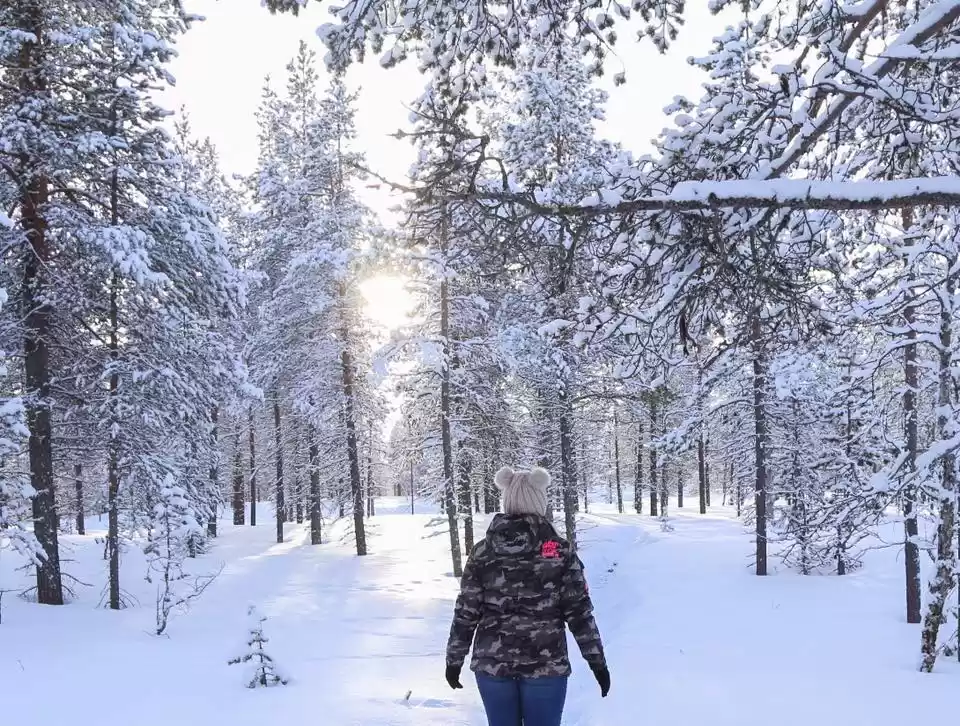
The aurora borealis most commonly occur between 60° - 75° latitude. For ease of access and availability of options- attractive destinations for observing this atmospheric phenomenon could be Iceland, Norway, Finland, Sweden and Northern Canada.
The Northern Lights in some of the above mentioned countries can be seen almost every other night, but bear in mind that these places have long daylight hours in summer when the Aurora although present may not be visible. Hence the best time of the year to maximize your chances of seeing the lights is winter across these destinations.
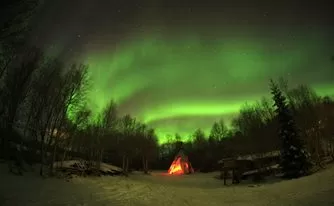
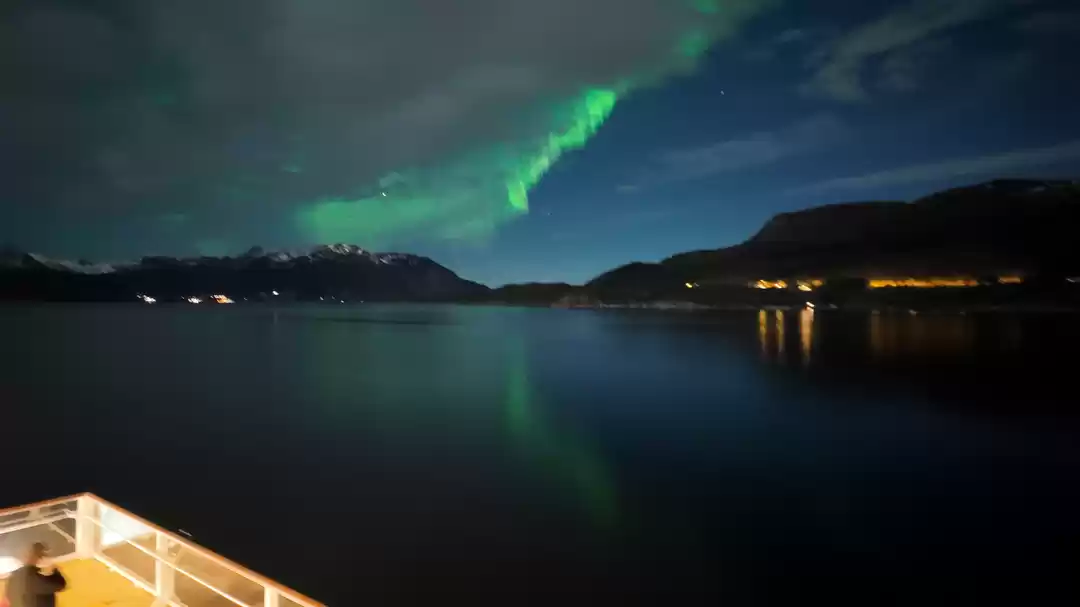
Tip: The Northern lights are visible only on clear nights (no clouds), best seen away from artificial lights. Hence Aurora enthusiasts use the term ‘chasing’ so often, as they’re always out and about in the hunt for clear and dark night skies.
What is the best type of tour/itinerary to see the Northern Lights?
First things first- if any Northern Lights tour operator or travel agent offers you guaranteed Northern Lights viewing- walk out as fast you can. No one on this planet can guarantee and predict the Aurora location, activity, intensity or visibility.
There are many options to choose from (guided tours, self-discovery etc), but keep in mind the following:
1) You get what you pay for: Northern Lights trip is not cheap. The countries mentioned above are not central points on air routes and the tickets may be expensive. You may have to travel further north after reaching the capitals of these countries. You’ll be deep in the Arctic Circle and there’s a price tag that comes with the untouched beauty of these remote locations.
2) Keep at least 3 nights dedicated to chasing Northern Lights: Any plan/ itinerary you make, be sure to keep at least 3 nights (if not more) dedicated to chasing the Aurora and as far North as you can. This will help you maximize your chances of not only seeing the Aurora stationery but possibly catching the Lights putting on a grand performance.
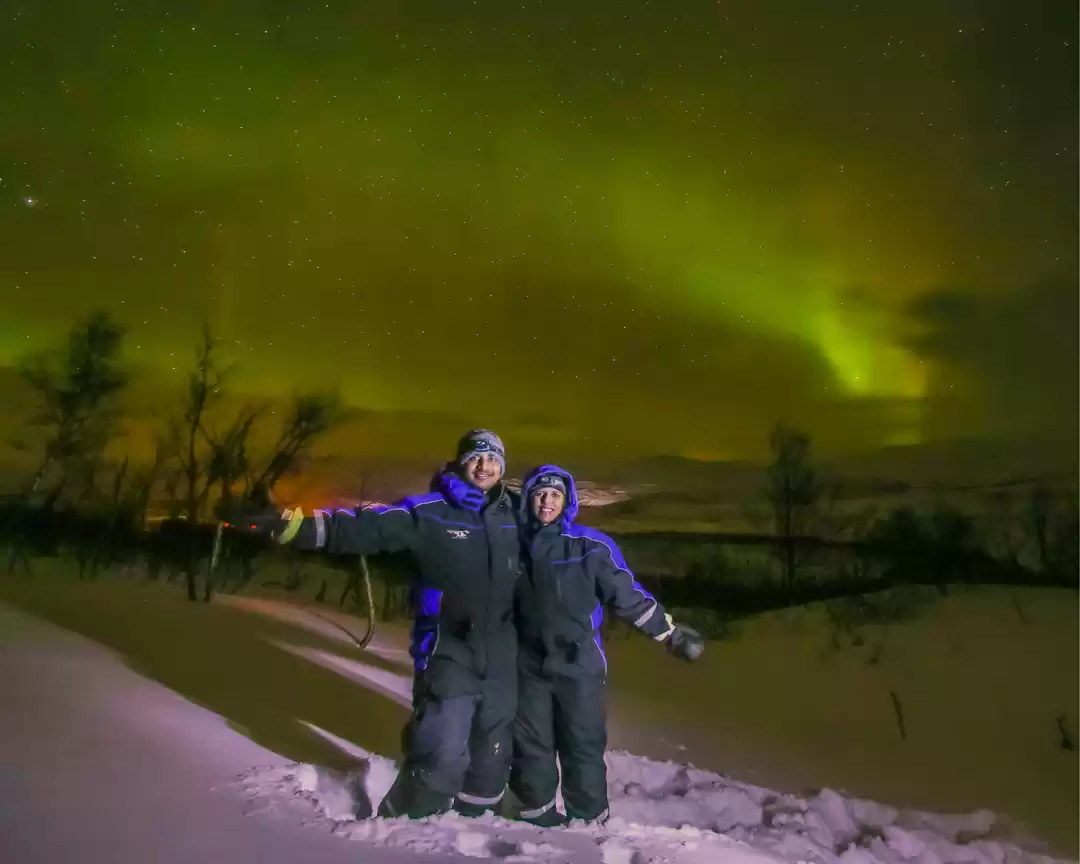
3) Beat the cold: Winter this far up north can get pretty cold; sometimes less than -25 degrees Celsius; ensure you carry appropriate extreme cold protection gear. You don’t want your Aurora experience to be interrupted by constantly running back inside to get warm. Take extra care to keep your feet (toes) and fingers warm as the toes can get especially painful if not properly protected.
So when selecting a package or building your DIY itinerary, keep the above points in mind and you should be able to have a good time.
Section C
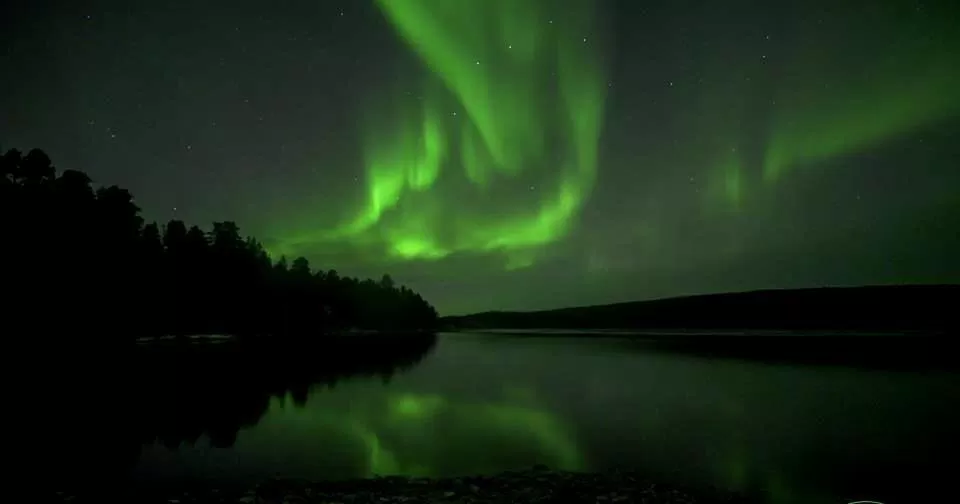
Photographing the Northern Lights:
Forget your smartphone's camera or even the digital point & shoot ones. They just don't have the features necessary to capture the bucket list busting Aurora in all its glory. As you read through you will understand why; its not as simple as point up and click- you'll just get dark skies or grey/green nothingness.
Equipment Needed (Recommended): A DSLR camera, tripod, camera remote and a torch/flashlight.
The same rules of composing, framing and being creative apply to shooting Northern Lights as any other landscape shots, so we wont go through that here.
Set up your camera on the tripod and switch to Manual mode before the following steps:
1) Focus: Set the focus to infinity and work backwards from there. Enable live view mode so that you can use the back LCD monitor to frame your shots. Now focus on a distant far off object, use a torch light or a laser pointer if its too dark. Once you're satisfied with the focus lock it down.
2) Aperture: Keep the white balance at automatic, tune the aperture to f/2.8 is the best aperture setting for northern lights photography. F-stops values of f/3.5 or f/4 also work well for photographing the aurora.
3) Shutter Speed & ISO: These two will always work together while shooting the Aurora.
Keep your shutter speed / exposure time between 5-25 seconds. When the aurora is moving quickly, try 5-7 second exposures, when it’s not moving as quickly try 10-25 second exposures.
Start out shooting with an ISO of 400-800 and increase the ISO if the image is too dark. ISO in the range of 1000-2000 works best for me depending on the conditions.
Finally, use either a remote control or the camera’s timer, set for a two or ten seconds release. Pressing the release button yourself will create shaken images even if you press the button ever so gently.
So there you go. You now have all the information you needed about seeing and photographing the Northern Lights.
I've written a full post about my Northern Lights chasing trip to Finland/Norway. Read about it here.
You can also watch my Northern Lights Video here.
If I've missed out on any points/ details or if you have any further questions, feel free to mention in the comments.
Happy Northern Lights Chasing!
Subscribe to my YouTube Channel
Follow me on Instagram for more travel pics: getbusylivin.ss
#getbusylivin